


Procedures
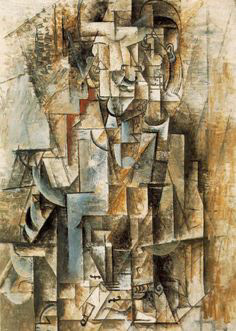
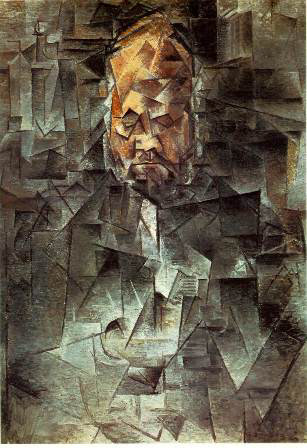
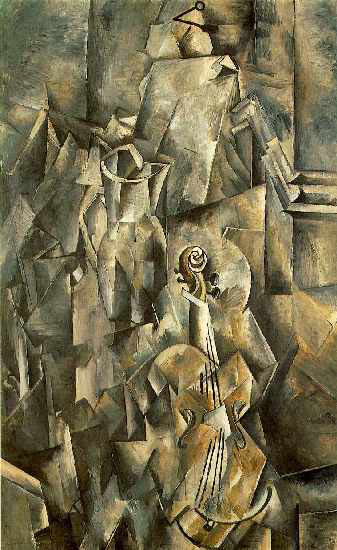
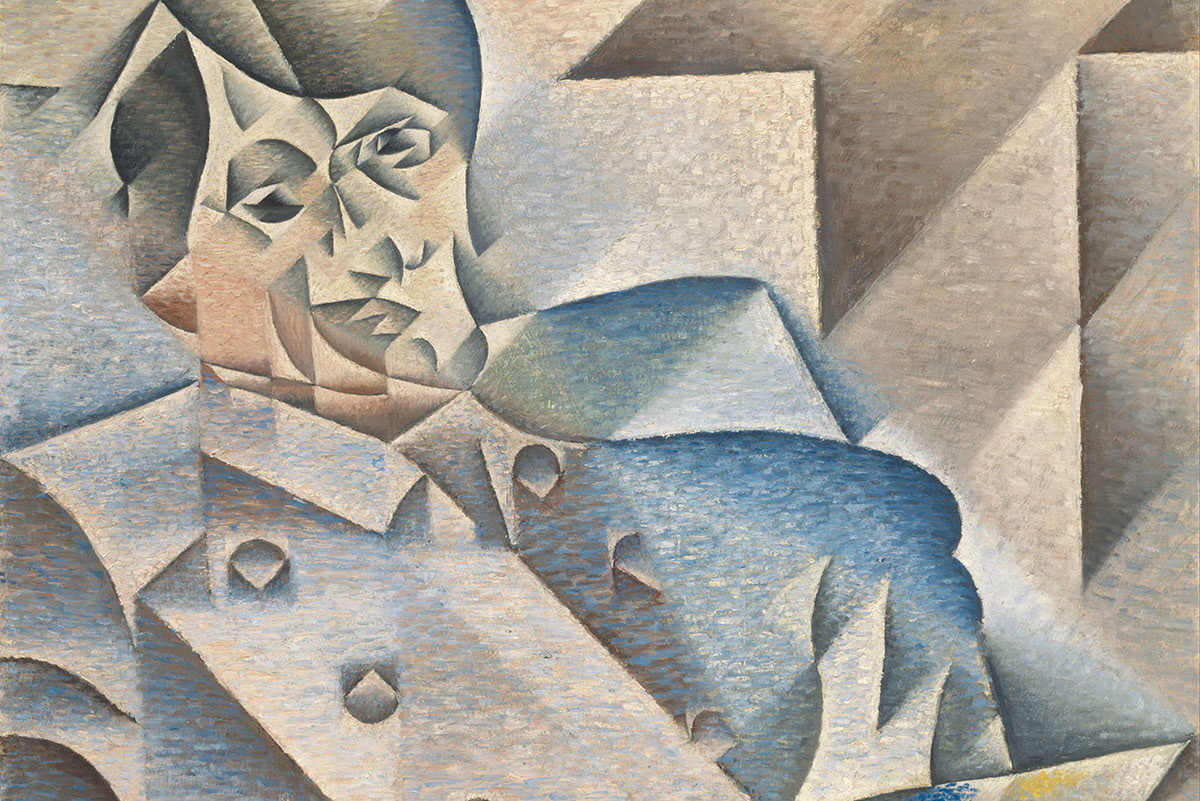
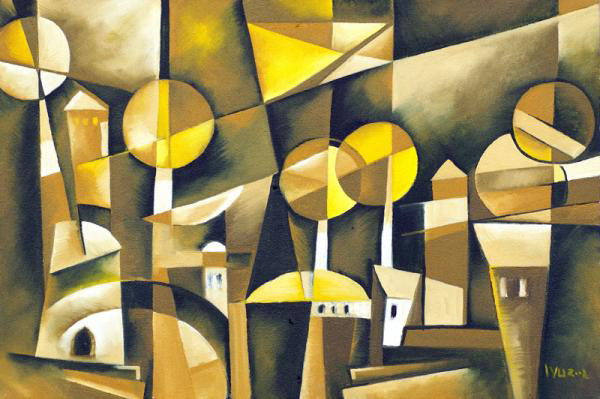
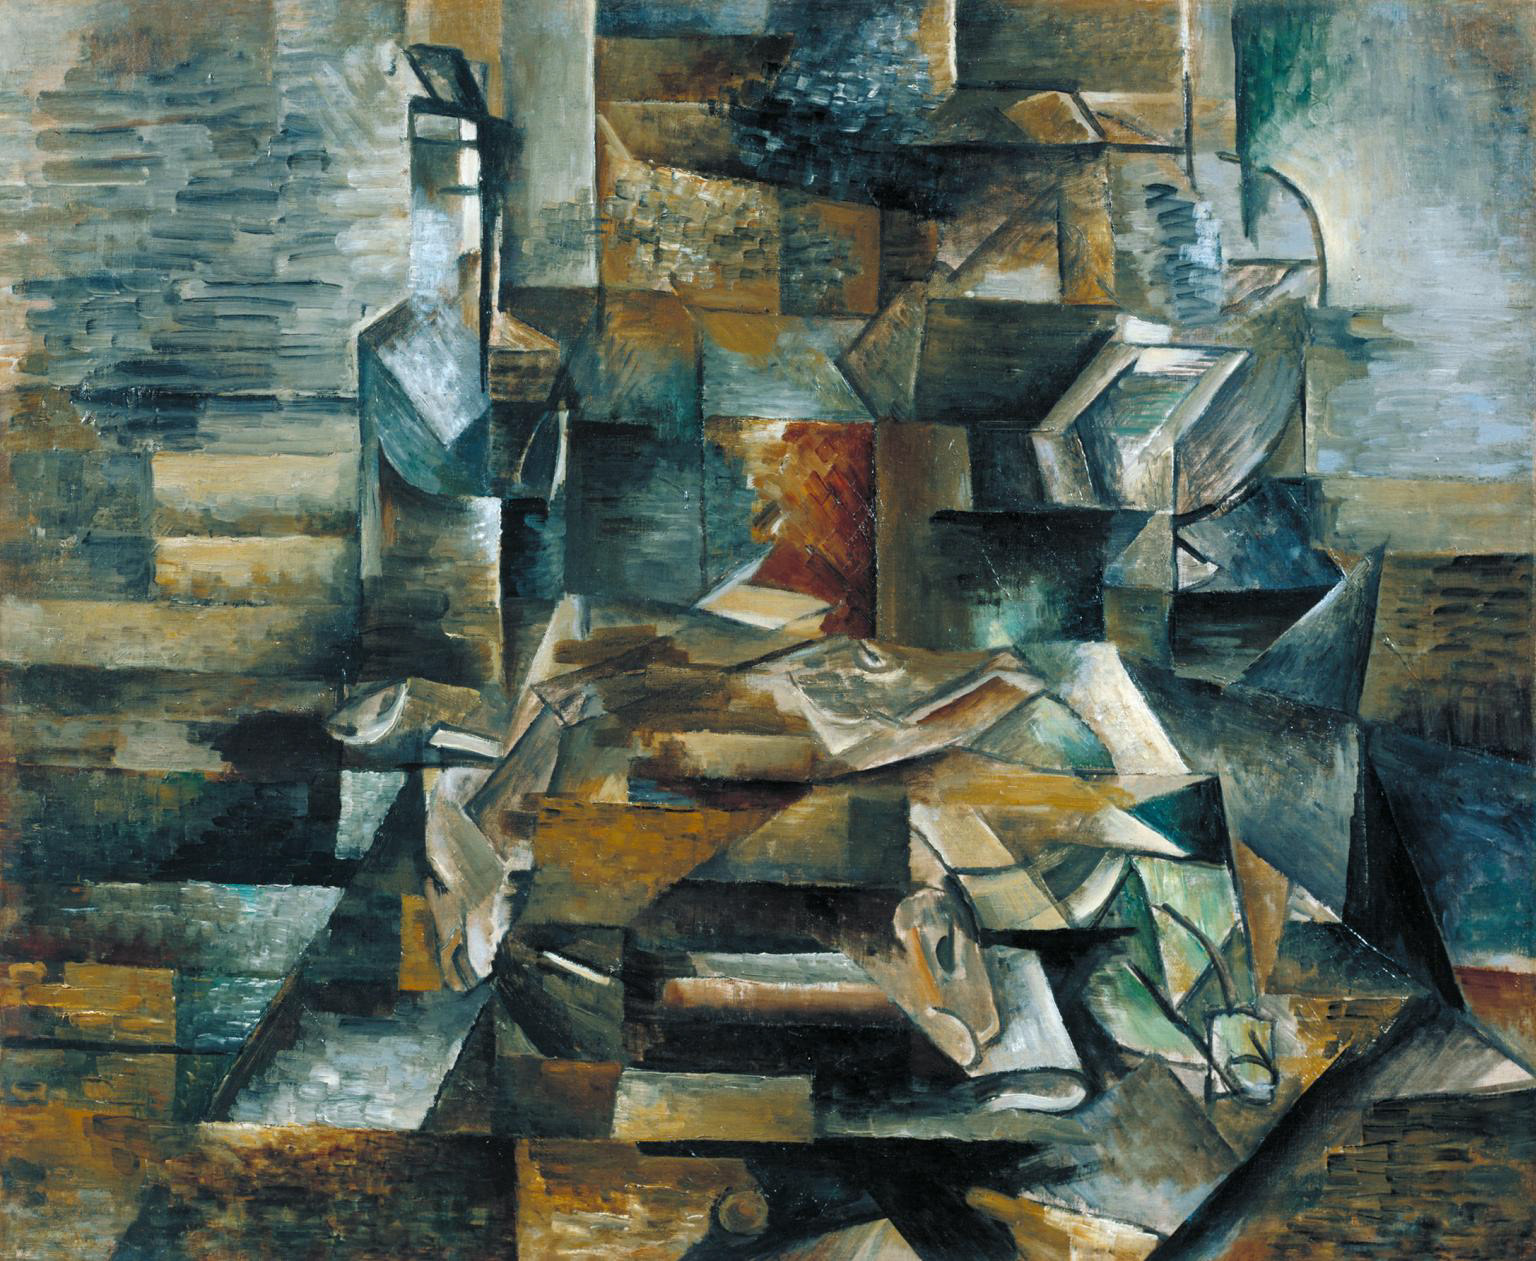
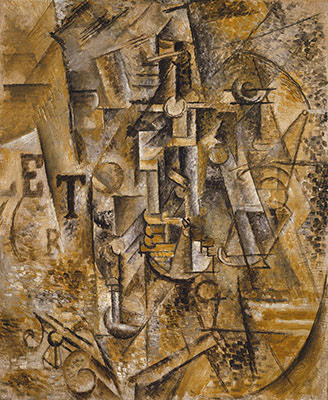
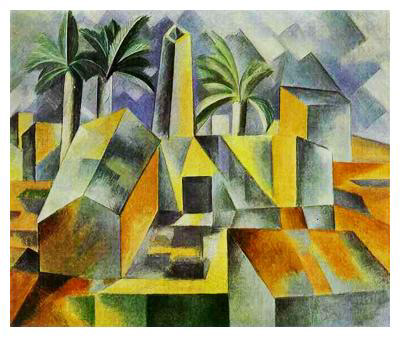
Prints of Braque and Picasso:
4. After you have given the students this information, have them figure out a way to break up/divide their image in a linear way before the value is added. Give them examples of shattered glass, waves of water, the spiral of a seashell, or a geometrical division of shapes such as squares or triangles. These new lines will overlap the enlarged drawing of their subject. This will make their initial line drawing more visually complicated. The effect is to create many more shapes, like a giant puzzle.
5. Have students create two value scales, one in divided squares, and another which is graded evenly from black to white.
6. Have the students experiment with filling the shapes in their image with a range of black to grey. Have them look at each shape and decide which area should start with the richest black and which should be the lightest gray.
7. Have students fill the entire paper with values including both the positive shapes and the negative background shapes.
8. Class critique - relate finished work to cubist work studied.
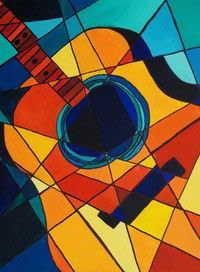
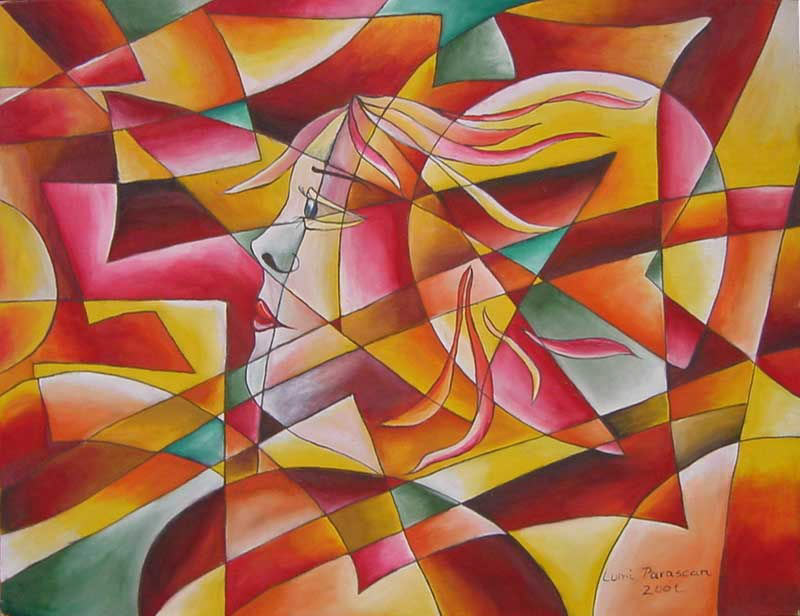
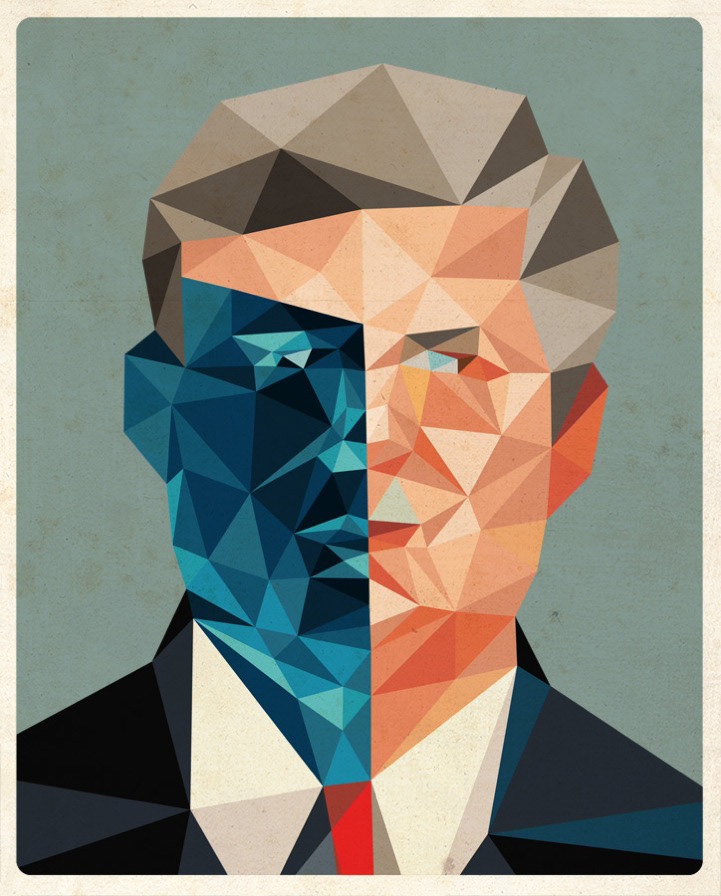
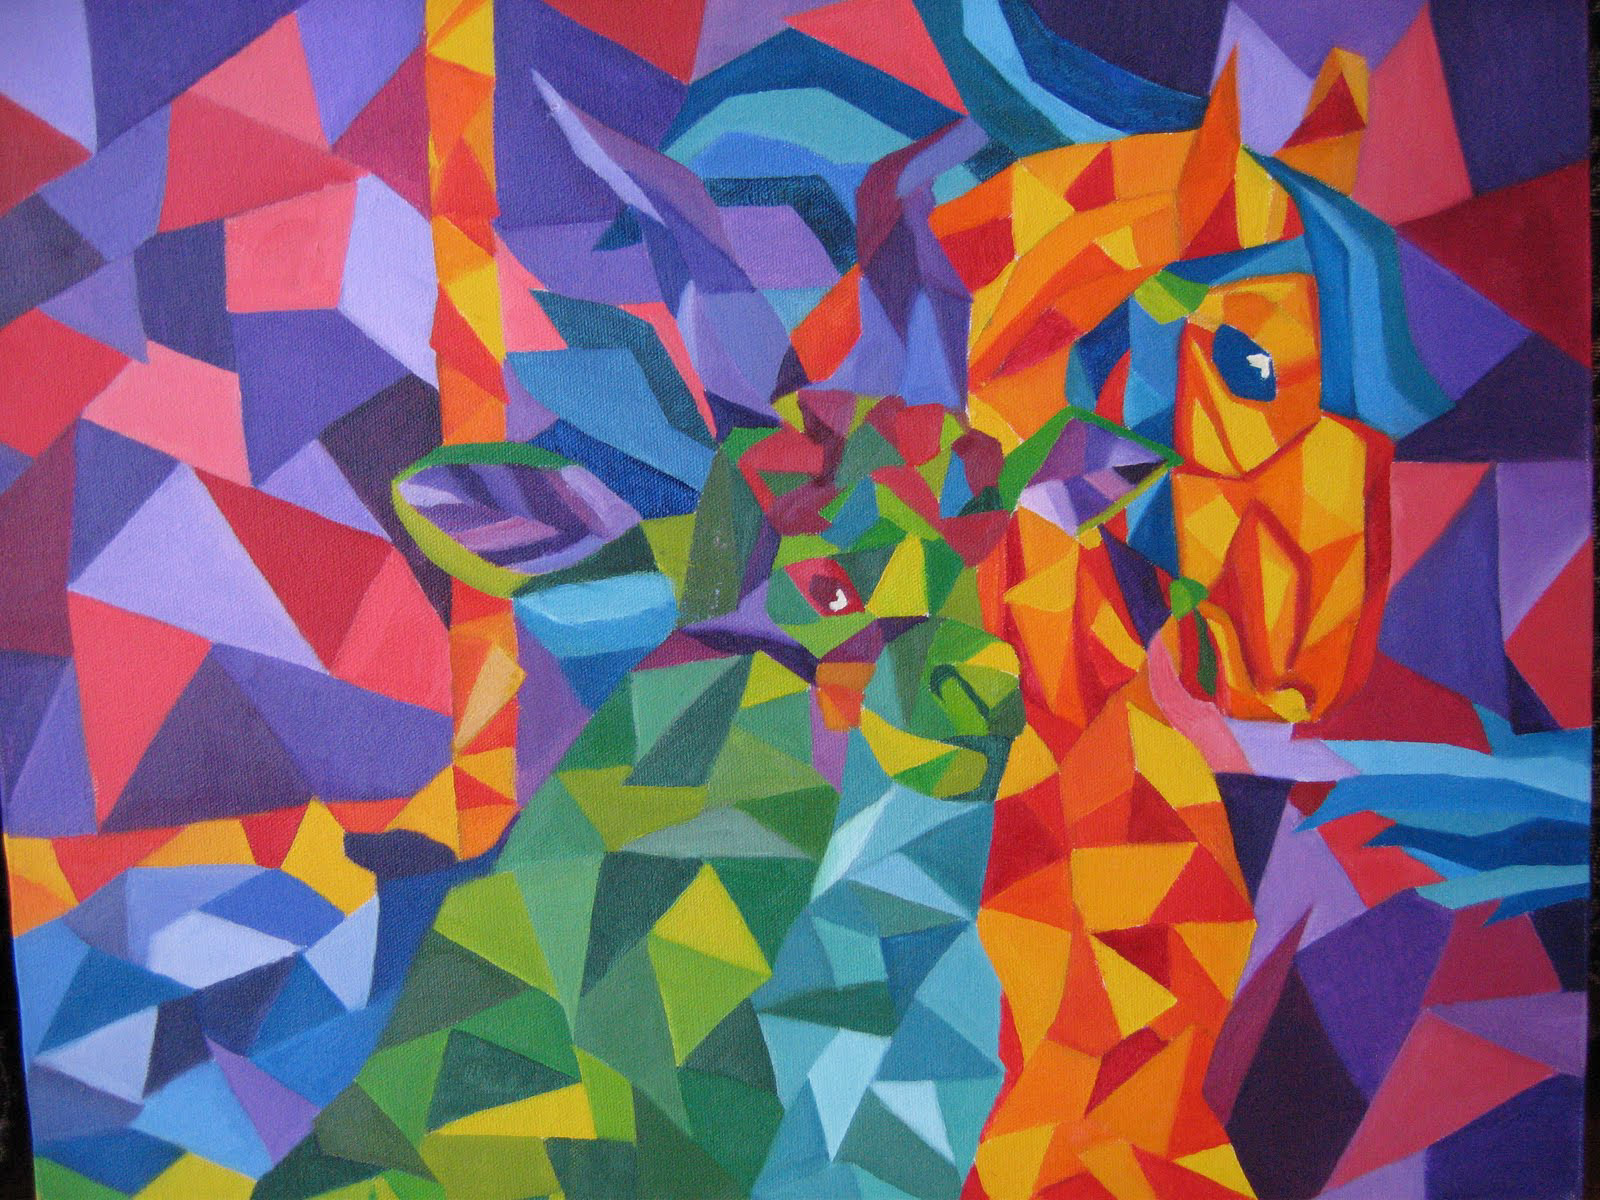
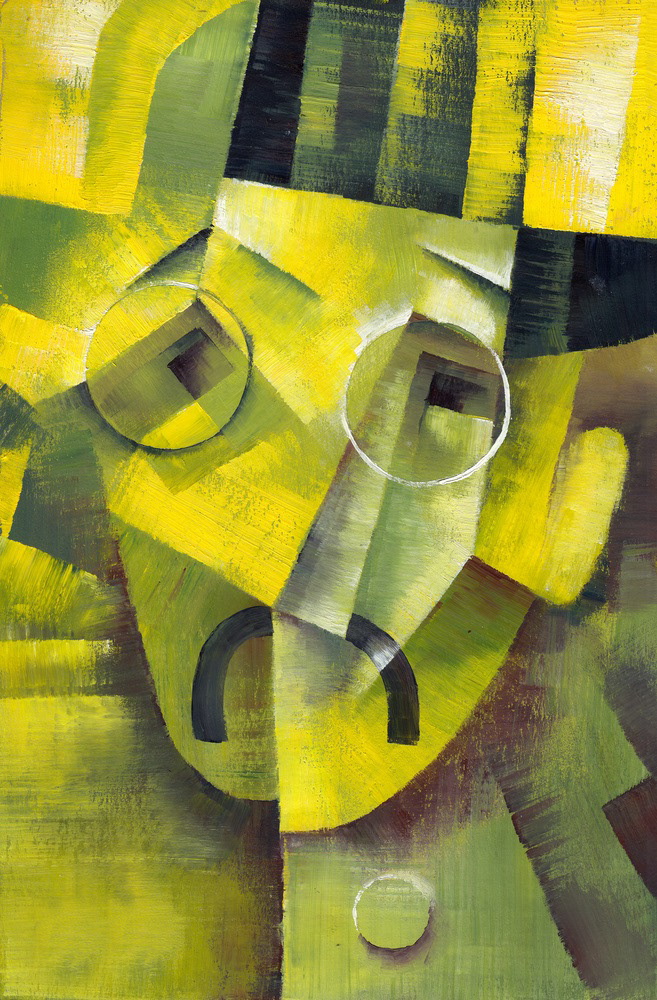
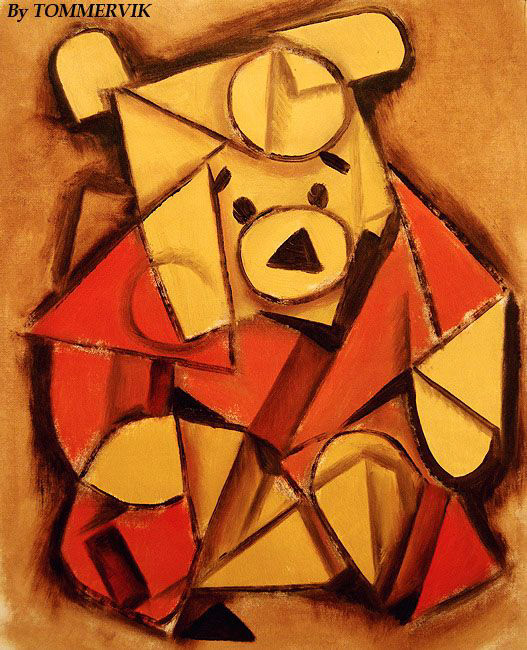
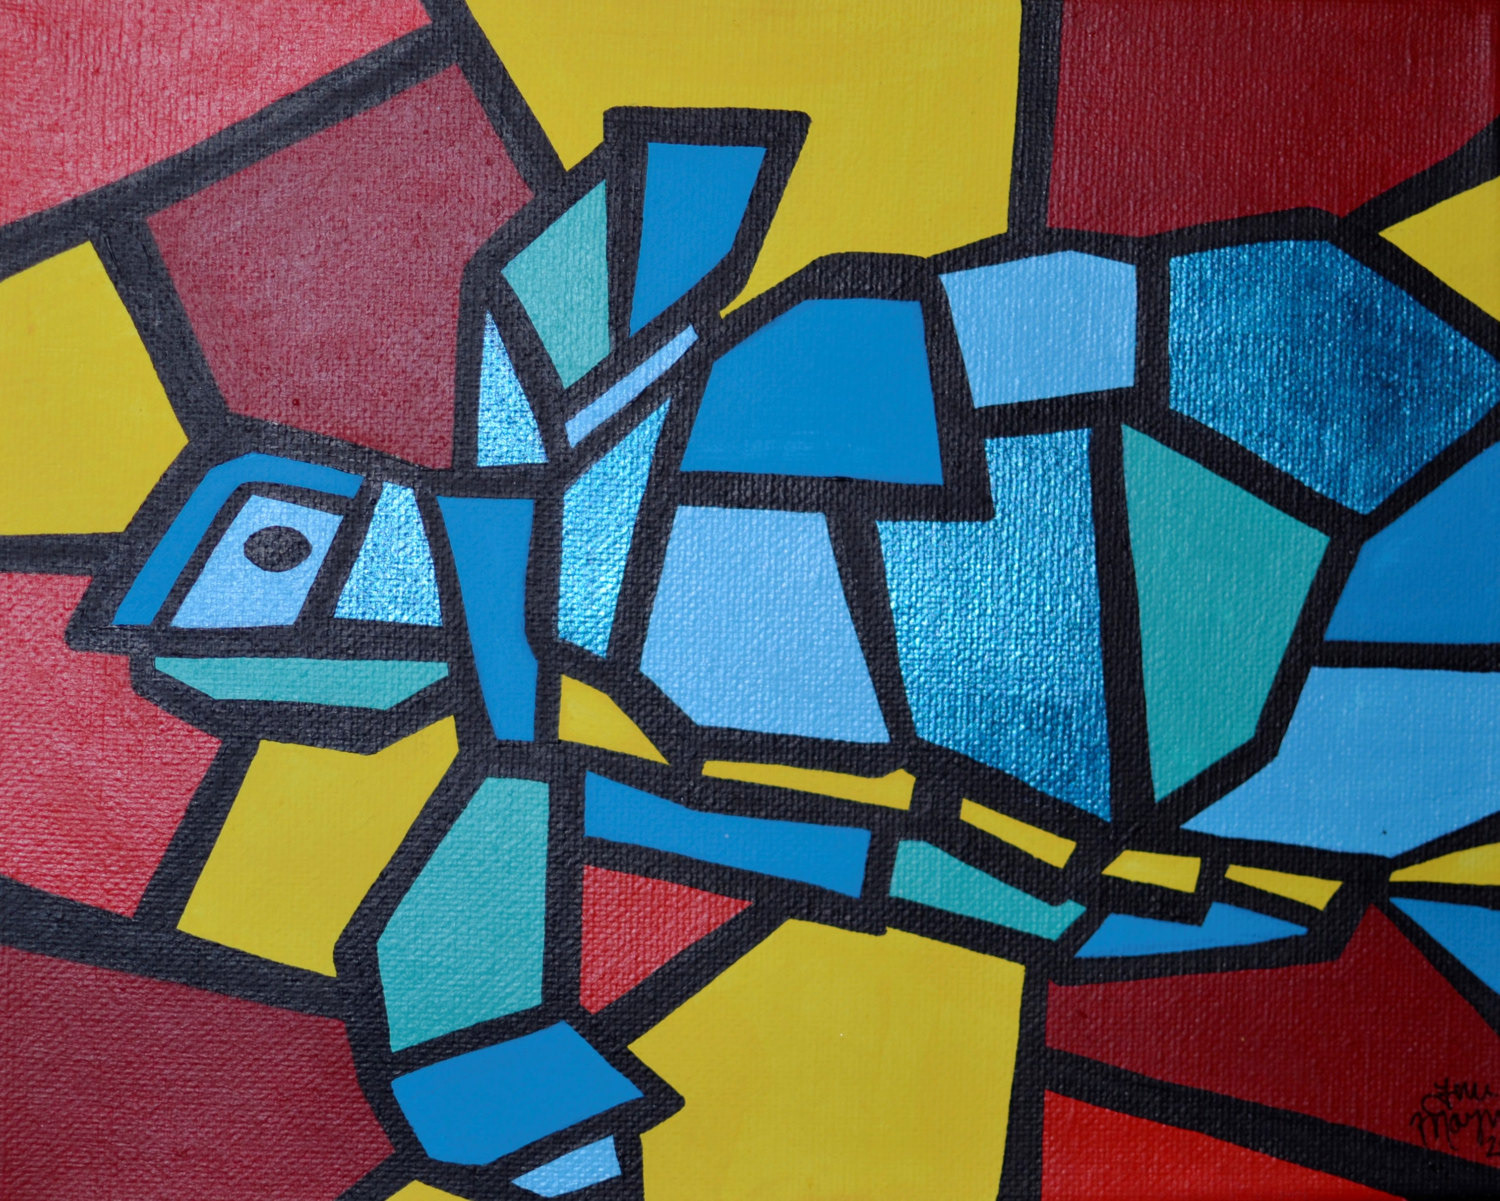
9. Optional - have students do the same composition in color. See example.
Shattered Values Assignment
1. Select a subject that you can make into a contour line drawing. Focus on a single object, such as a car, insect, person, or fish.
2. Enlarge that subject to fit 12" X 18" inch (30.5 x 46 cm) paper using the grid method.
3. "Shatter" the subject in some way by breaking it up with lines or shapes or patterns of some sort. These lines will overlap your first drawing. (There are numerous methods you could use…be creative. Think of various ways that lines break up objects: shattered glass, wavy lines of water, spiral lines as seen on a snail shell, geometrical divisions of shapes.) The objective is to create more shapes in your drawing, like a giant puzzle. (Look at examples of Cubism for inspiration.)
4. Create two value scales on the worksheet with graphite/pencil. One will be divided into separate grays in the boxes, and one will be a blended value scale from black to white in the long box.
5. In your drawing, focus on each individual shape you have created, and apply the entire range of value (from black to light gray) in each shape. Proceed from shape to shape, deciding which part should be the richest black and which should be the lightest gray. Sometimes you may want to alternate from one shape to the next. You may also want to vary the direction of your shading inside your object from that outside your object in order to emphasize it.
6. Fill the entire paper with values, including positive shapes of the object and negative background shapes.
7. Critique your work. Compare and contrast to cubist work studied.