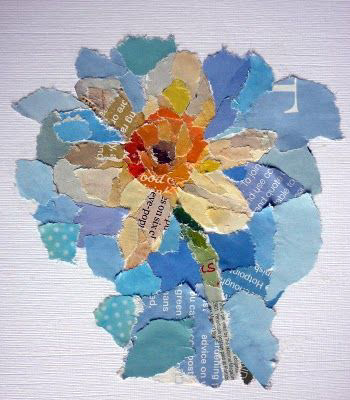
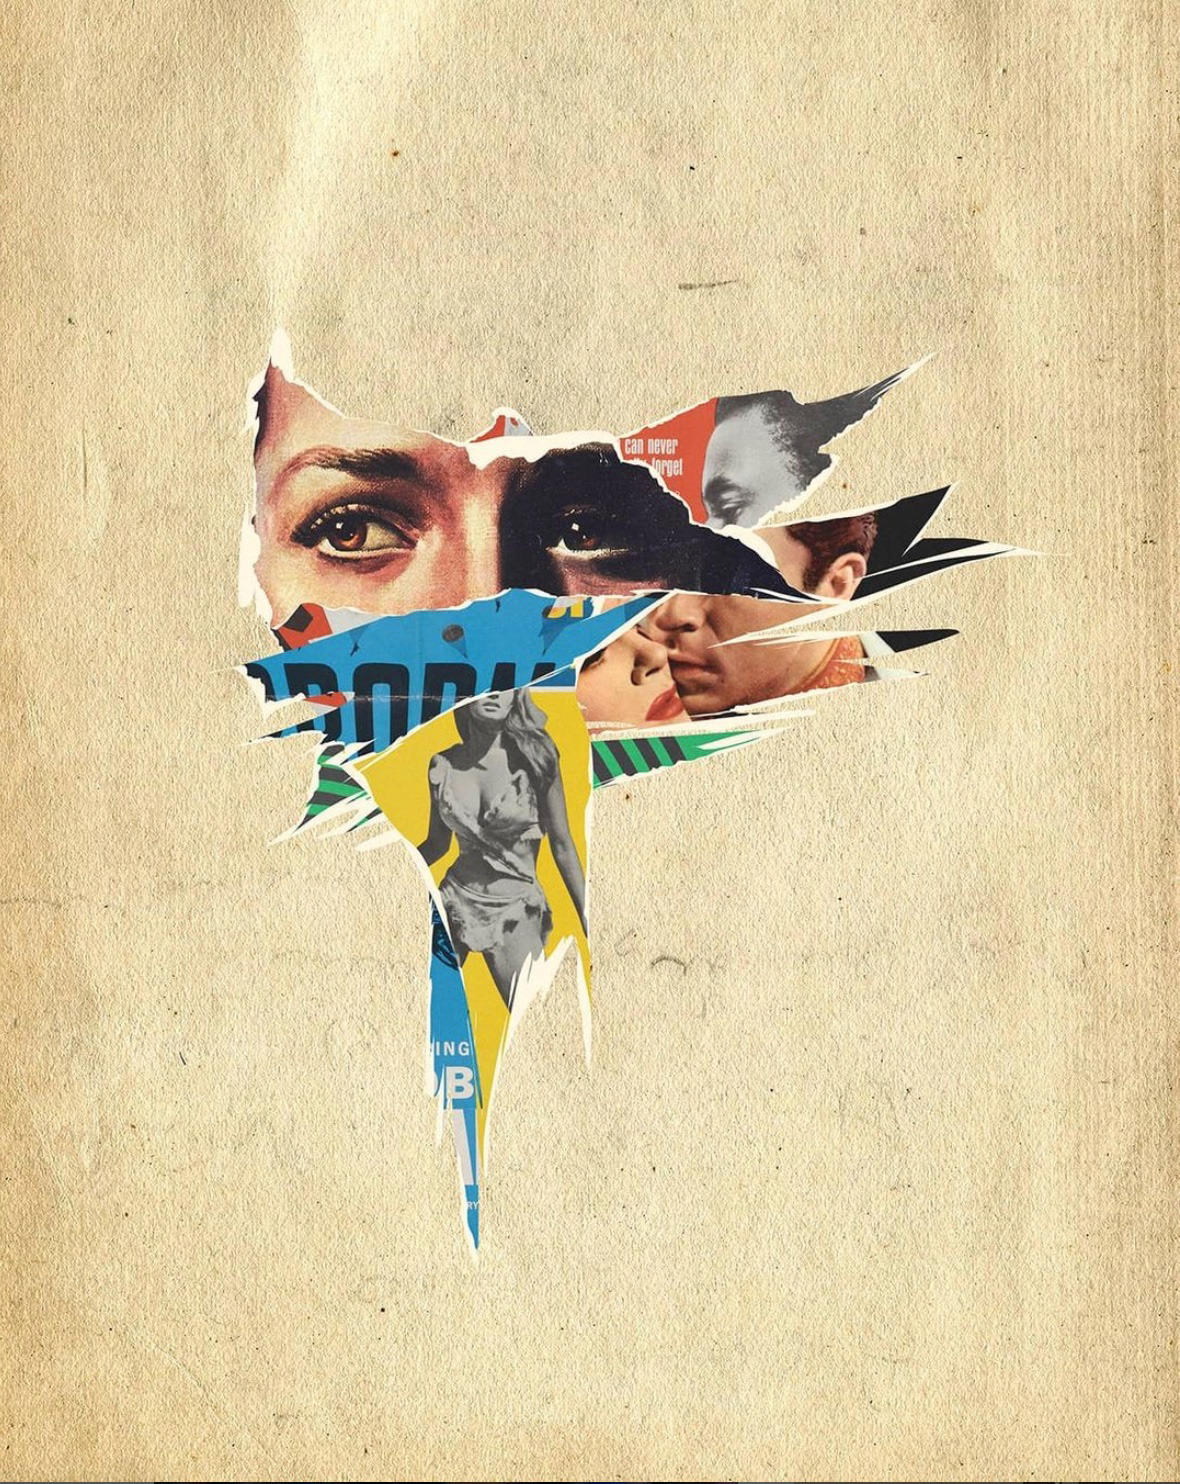
Torn Paper Collage Practice
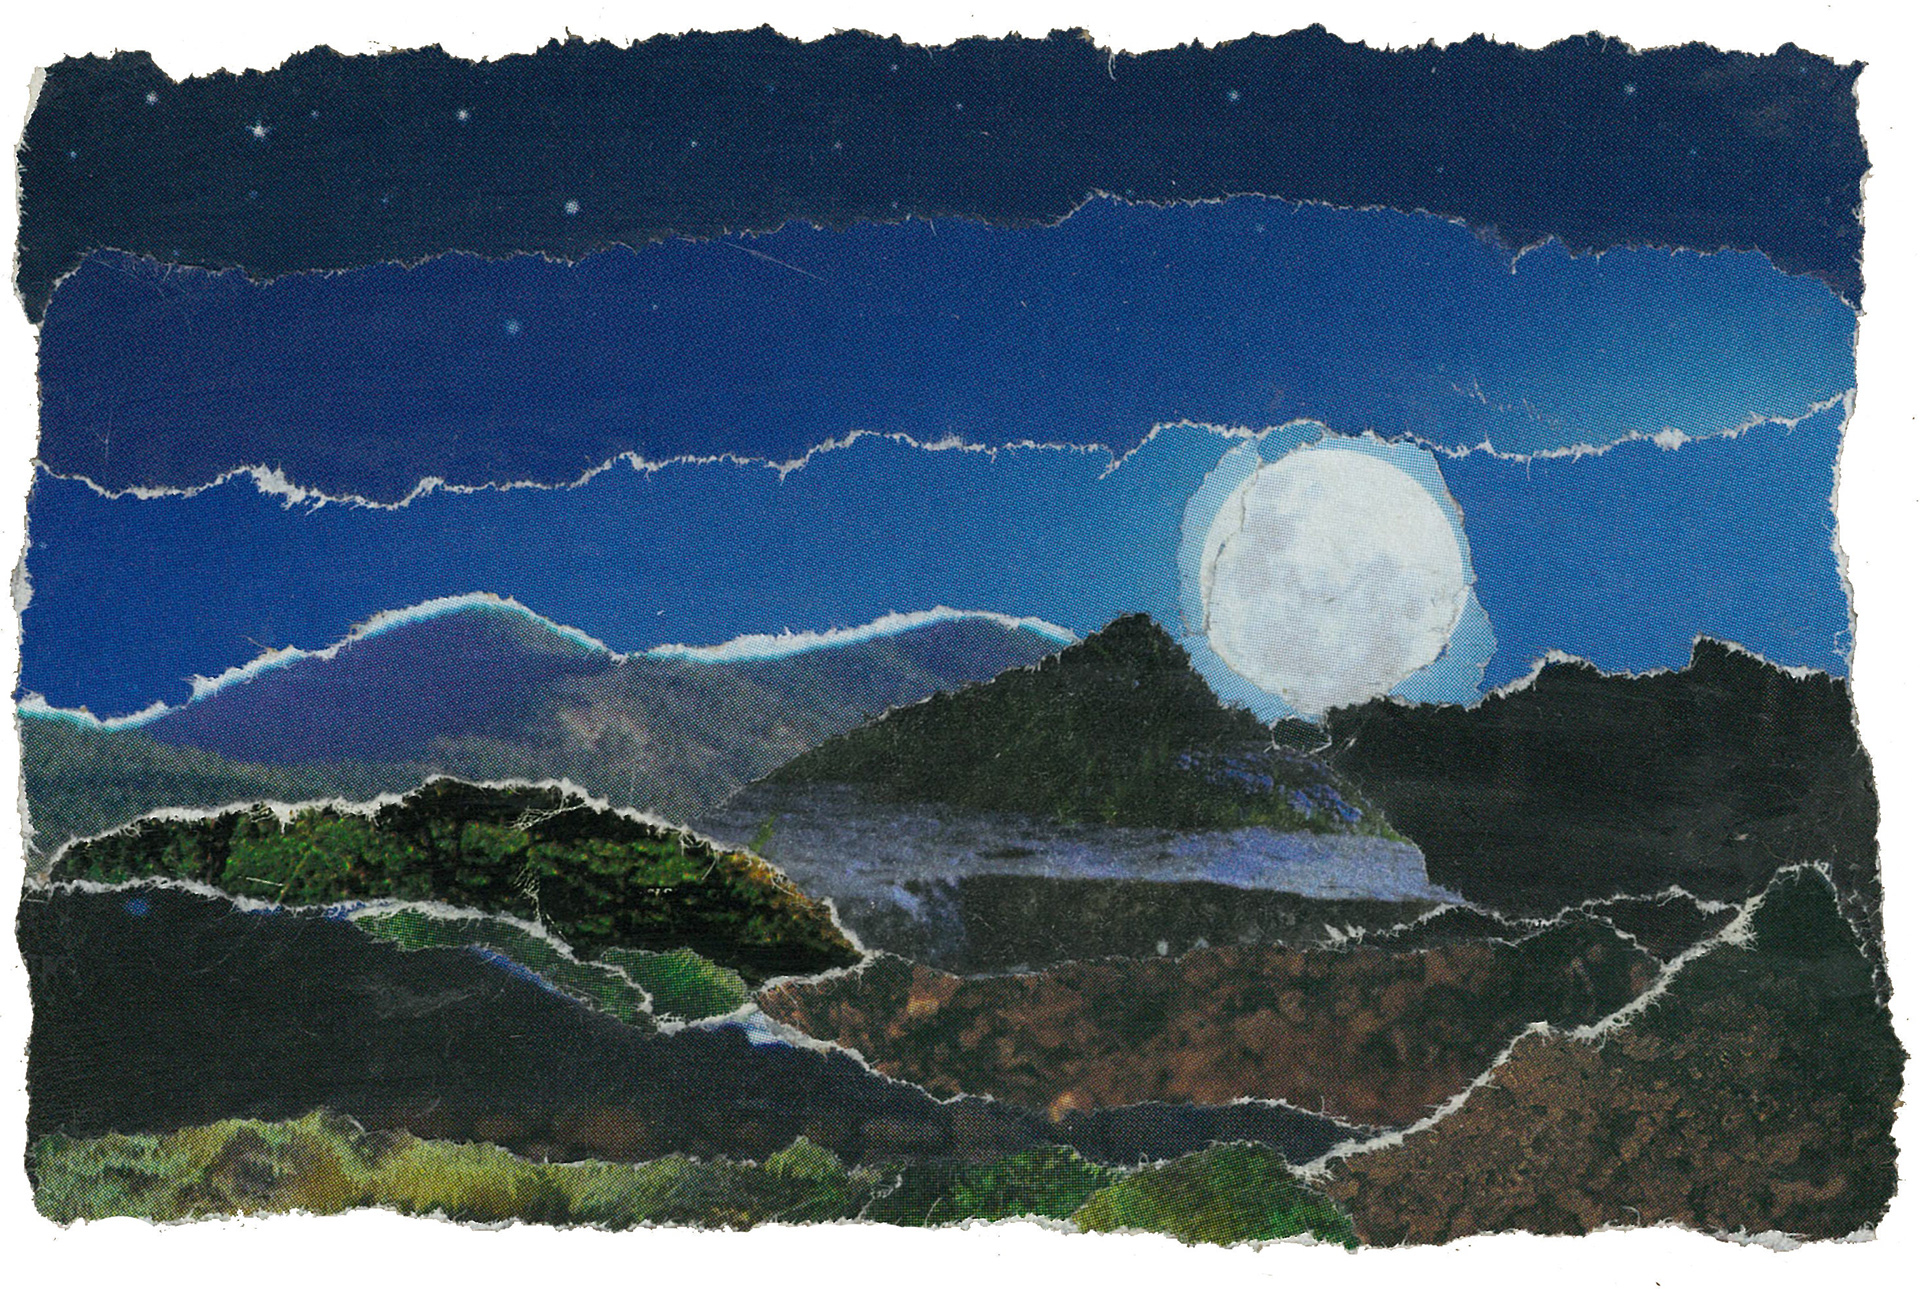
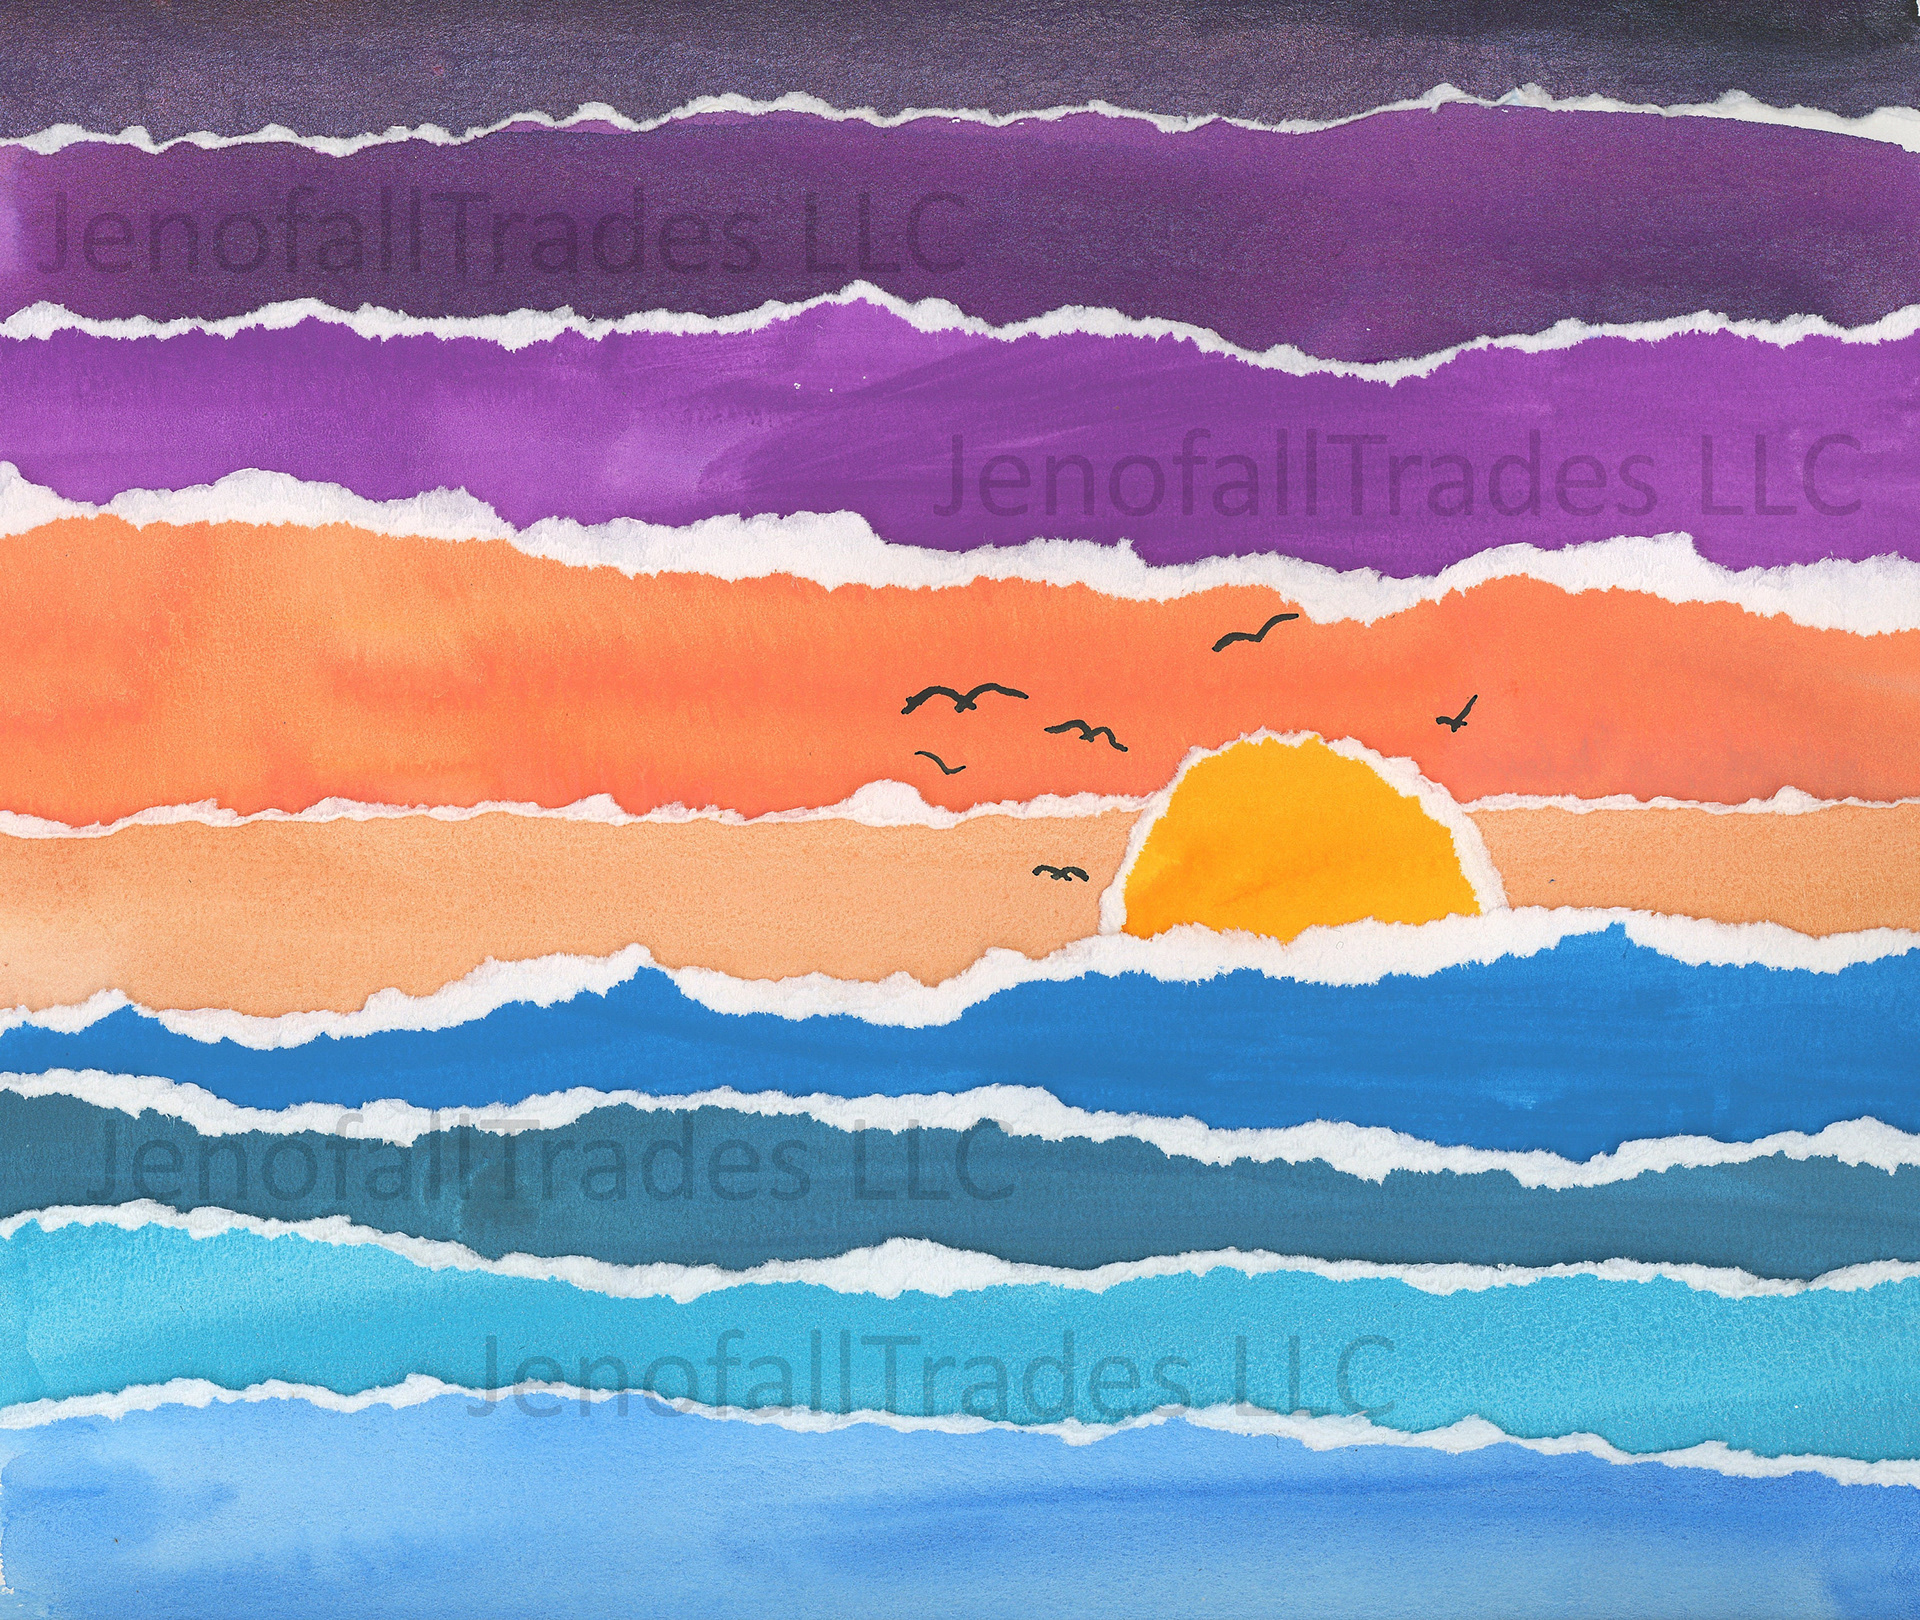
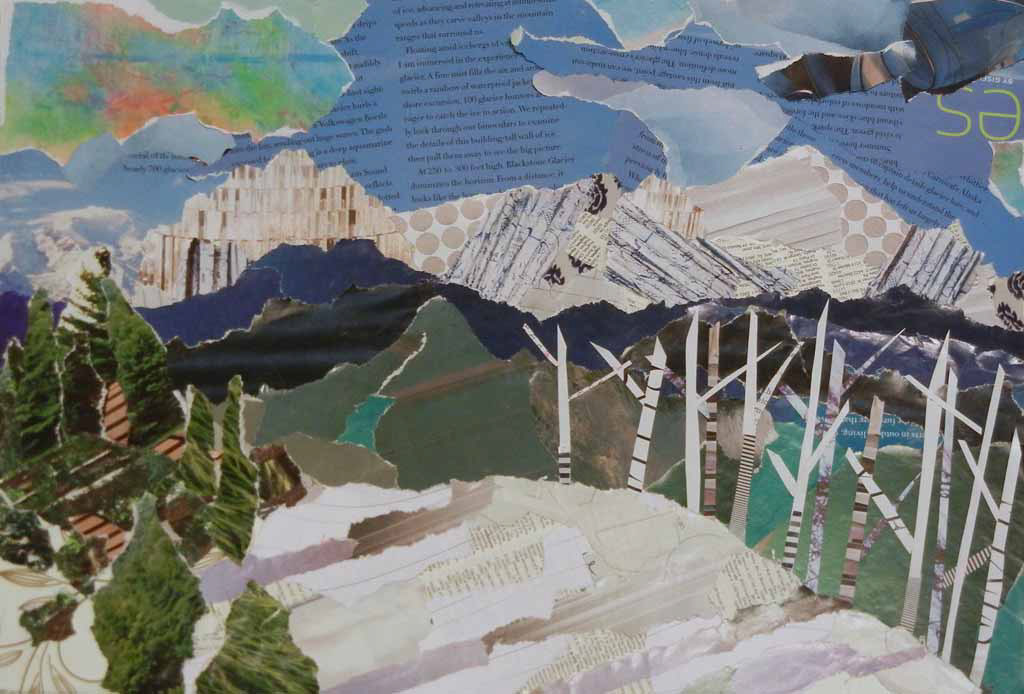
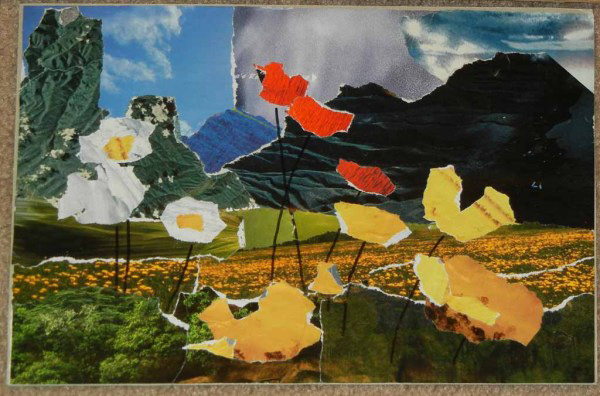
Torn Paper Collage
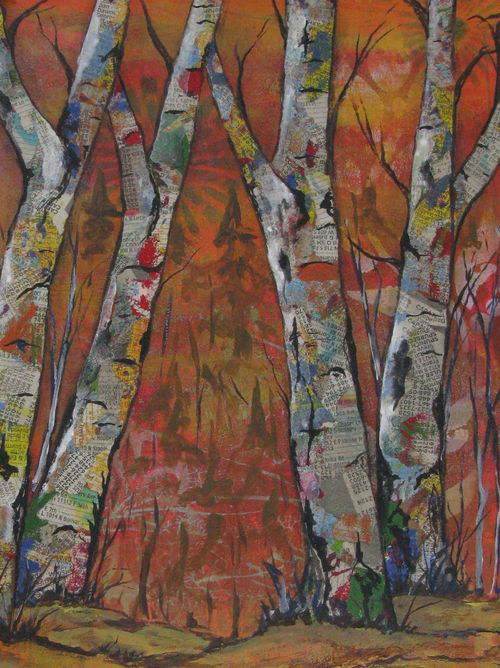


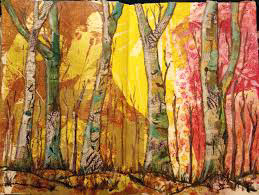


Collage Painting Tutorial

Materials:
Colored paper or cardstock for the base/page itself.
Variety of stamps and stencils for the background.
Charcoal or graphite pencils for sketching.
Large and small paint brushes, sponges (for stenciling).
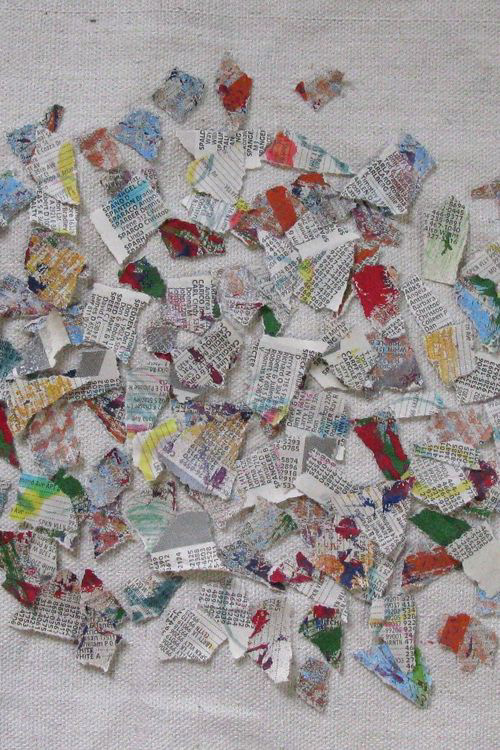
Assorted magazine and book pages.
Glue or Liquitex Matte Medium as an adhesive and a sealer.
Krylon Matte Finish sprays as a final sealer.
There are 3 main steps for this type of painted collage:
Step 1- Create your background.
Step 2- Sketch the layout of the tree/trees and collage the tree shapes, applying torn telephone book pages.
Step 3- Add details, finishing touches.
Step 4 (optional)- Cover your finished collage with the sealer, add journaling.
Every step of this process can be done in a variety of ways. Below is a demonstration of one method.
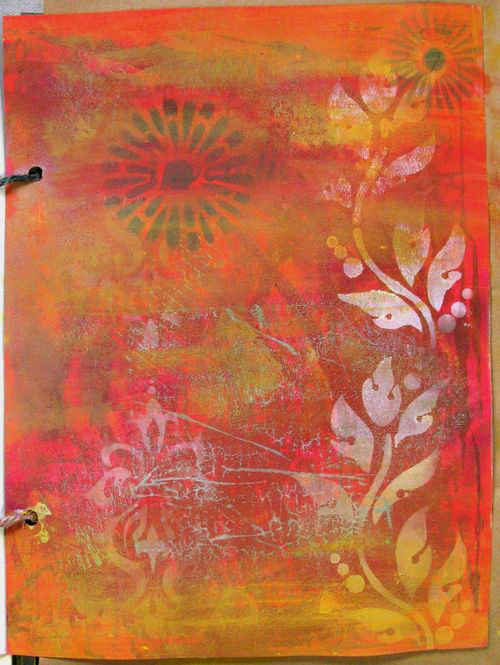
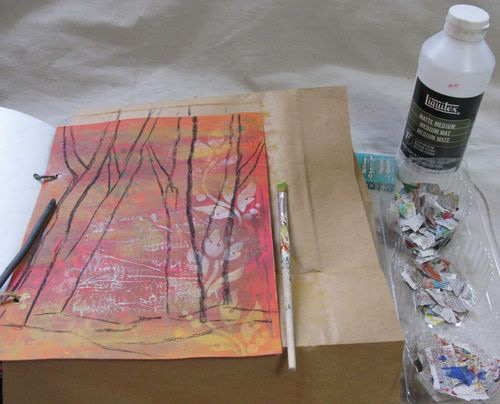
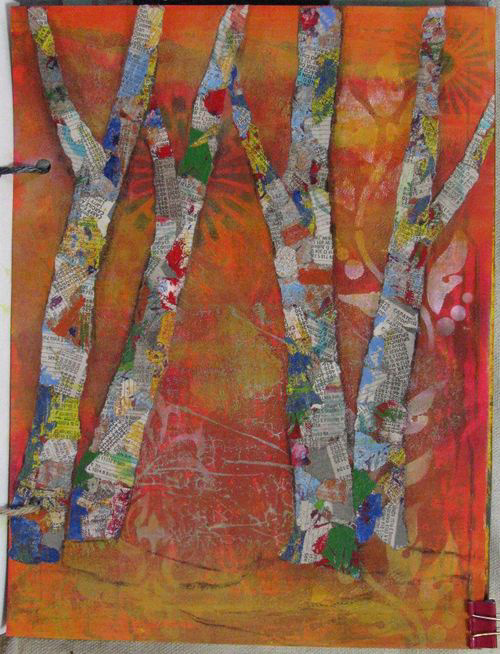
Step 1: Background
Random stamps and stencils with acrylic paint are used to add design to the solid red cardstock.
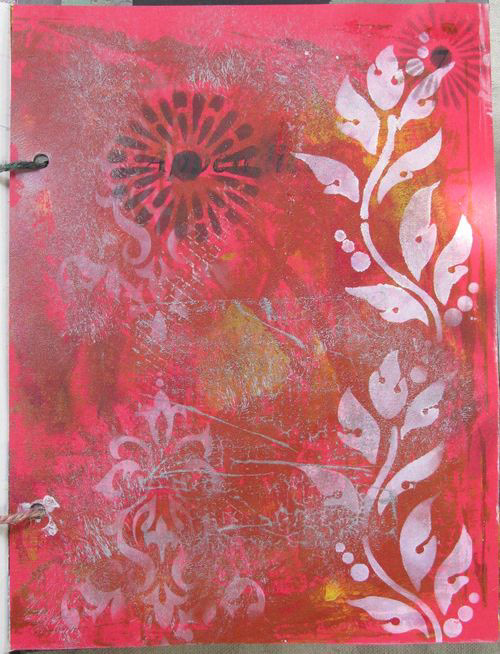
Bright yellow acrylic paint with a larger brush is applied to the top and bottom of the page to define the sky and foreground for the future landscape. Such bright colors of the background create a perfect backdrop for the grayish tree trunks.
Step 2: The Trees
Using a pencil, marker, crayon, or charcoal (I used charcoal) sketch roughly the shapes of the trees.

Choose your book pages. Some may be used, unaltered, some painted.
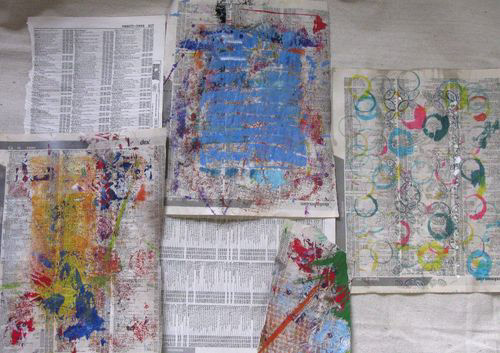
Start tearing your collage paper, making bigger and smaller pieces, depending on the width of the tree trunks and branches. Leave some pieces for later custom tearing for the tight and tiny spots or specific shapes of your tree branches.
Get ready for the fun part- the collage itself. Collect all needed tools and materials for this step.
To fill in the shapes of the trees try to follow your sketch lines on both sides (left and right). It’s easier to create the contour of the tree and fill in the middle part after. If you have painted your collage papers, try to use darker colored bits on the bottom and shaded areas of the trees.
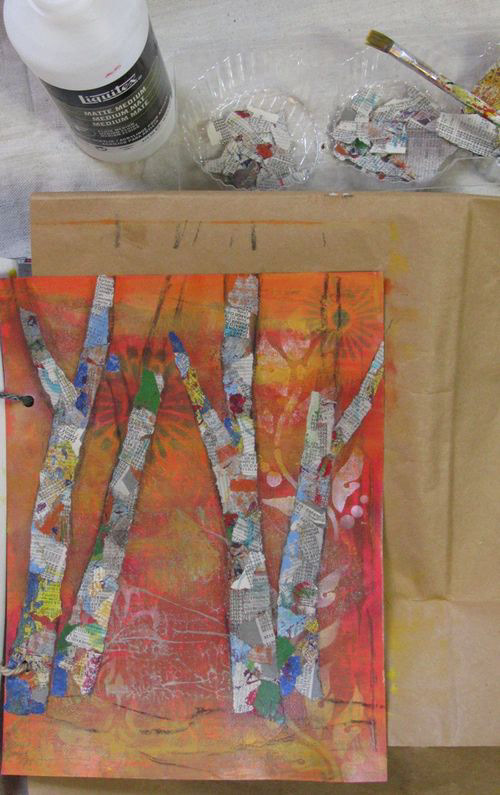
I knew that charcoal will be smeared a little with the matte medium. This effect will work well for the desired look: a distant foggy forest area in the background. If you would like to avoid that consequence do not use charcoal for sketching.
Continue filling in the shapes of the trees. You can make as many layers as you want until you are satisfied with the collage. Let it dry. Matte Medium dries relatively fast, but the time will depend on the thickness of your collage (you can create a visible dimensional texture) and the conditions of your working space. I left my page to dry for 2 hours.
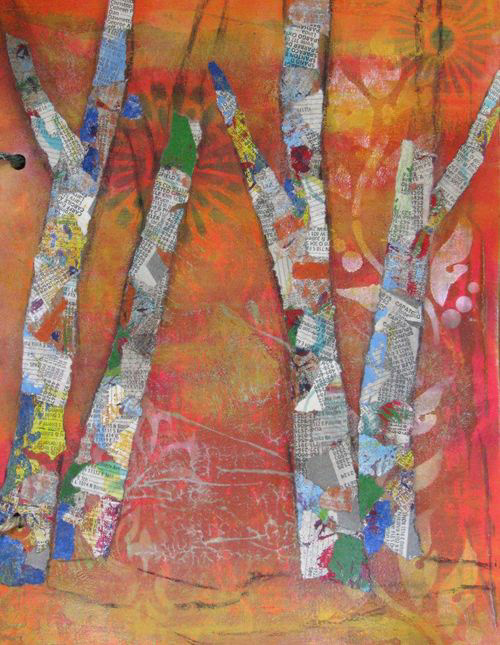
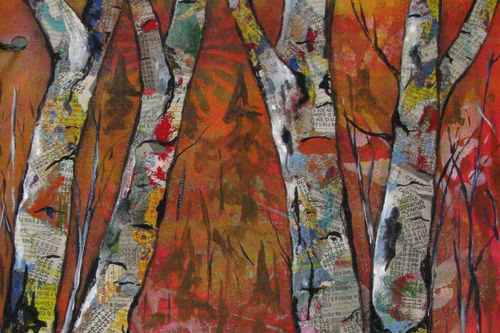
Step 3- Finishing Touches
After the collage is fully dried, the journal page lays flat again and is ready for the finishing touches. Smaller branches of the trees and distant trees are painted with burnt umber acrylic paint. Highlights are added with white paint (diluted for transparency).
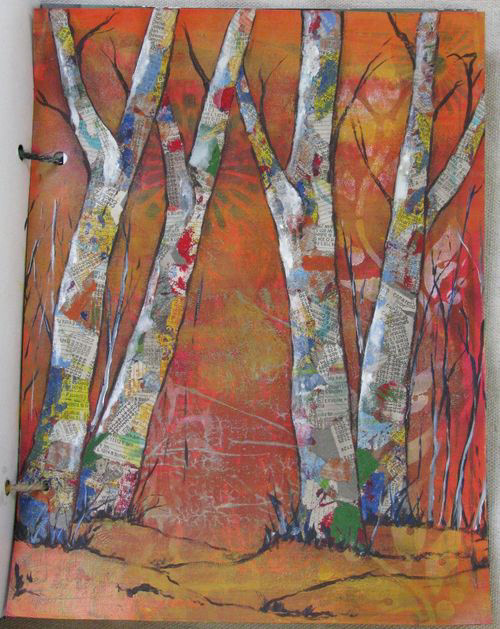
More distant trees, foreground bushes and grasses, and some small details to the tree trunks are added.
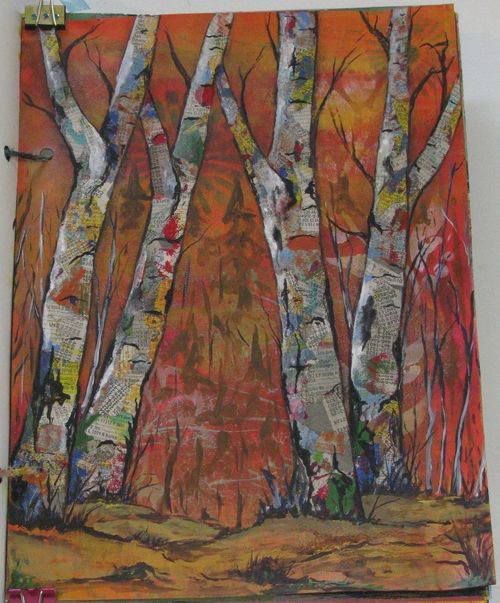
I decided to add a protective matte finish and sprayed the finished page with a Krylon Matte finish. It dried almost instantly.
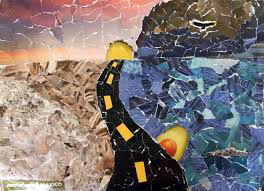
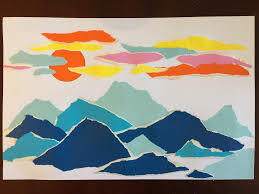
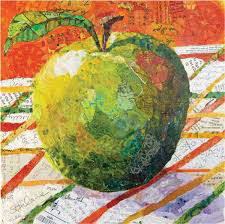
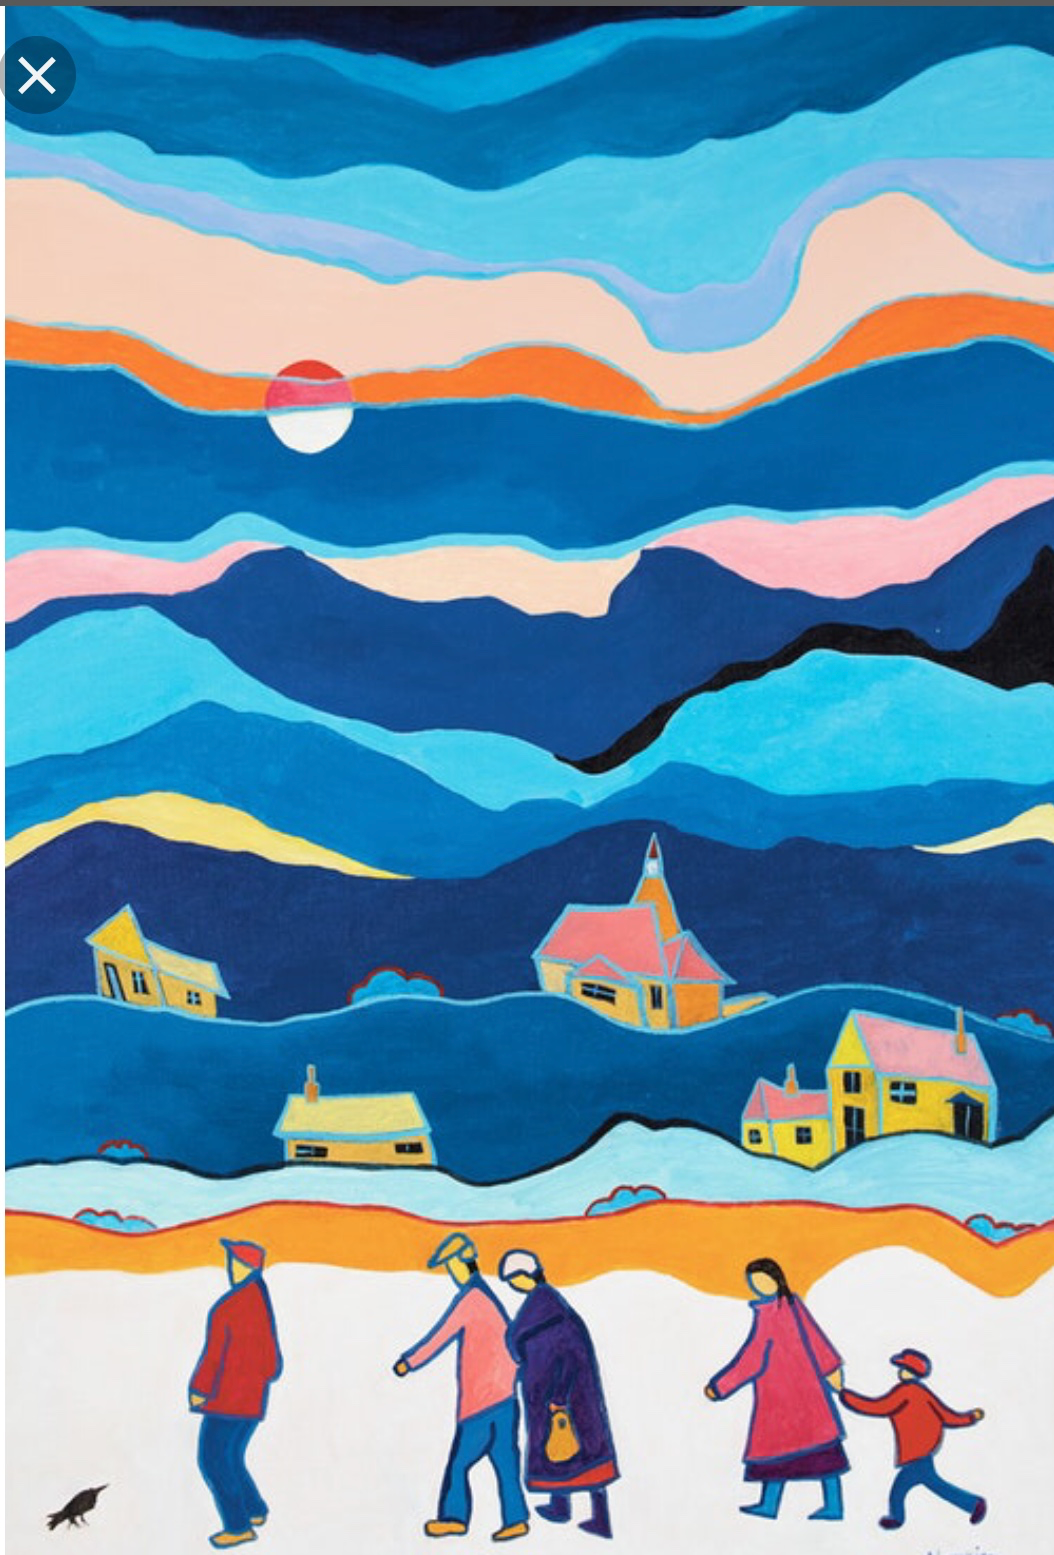
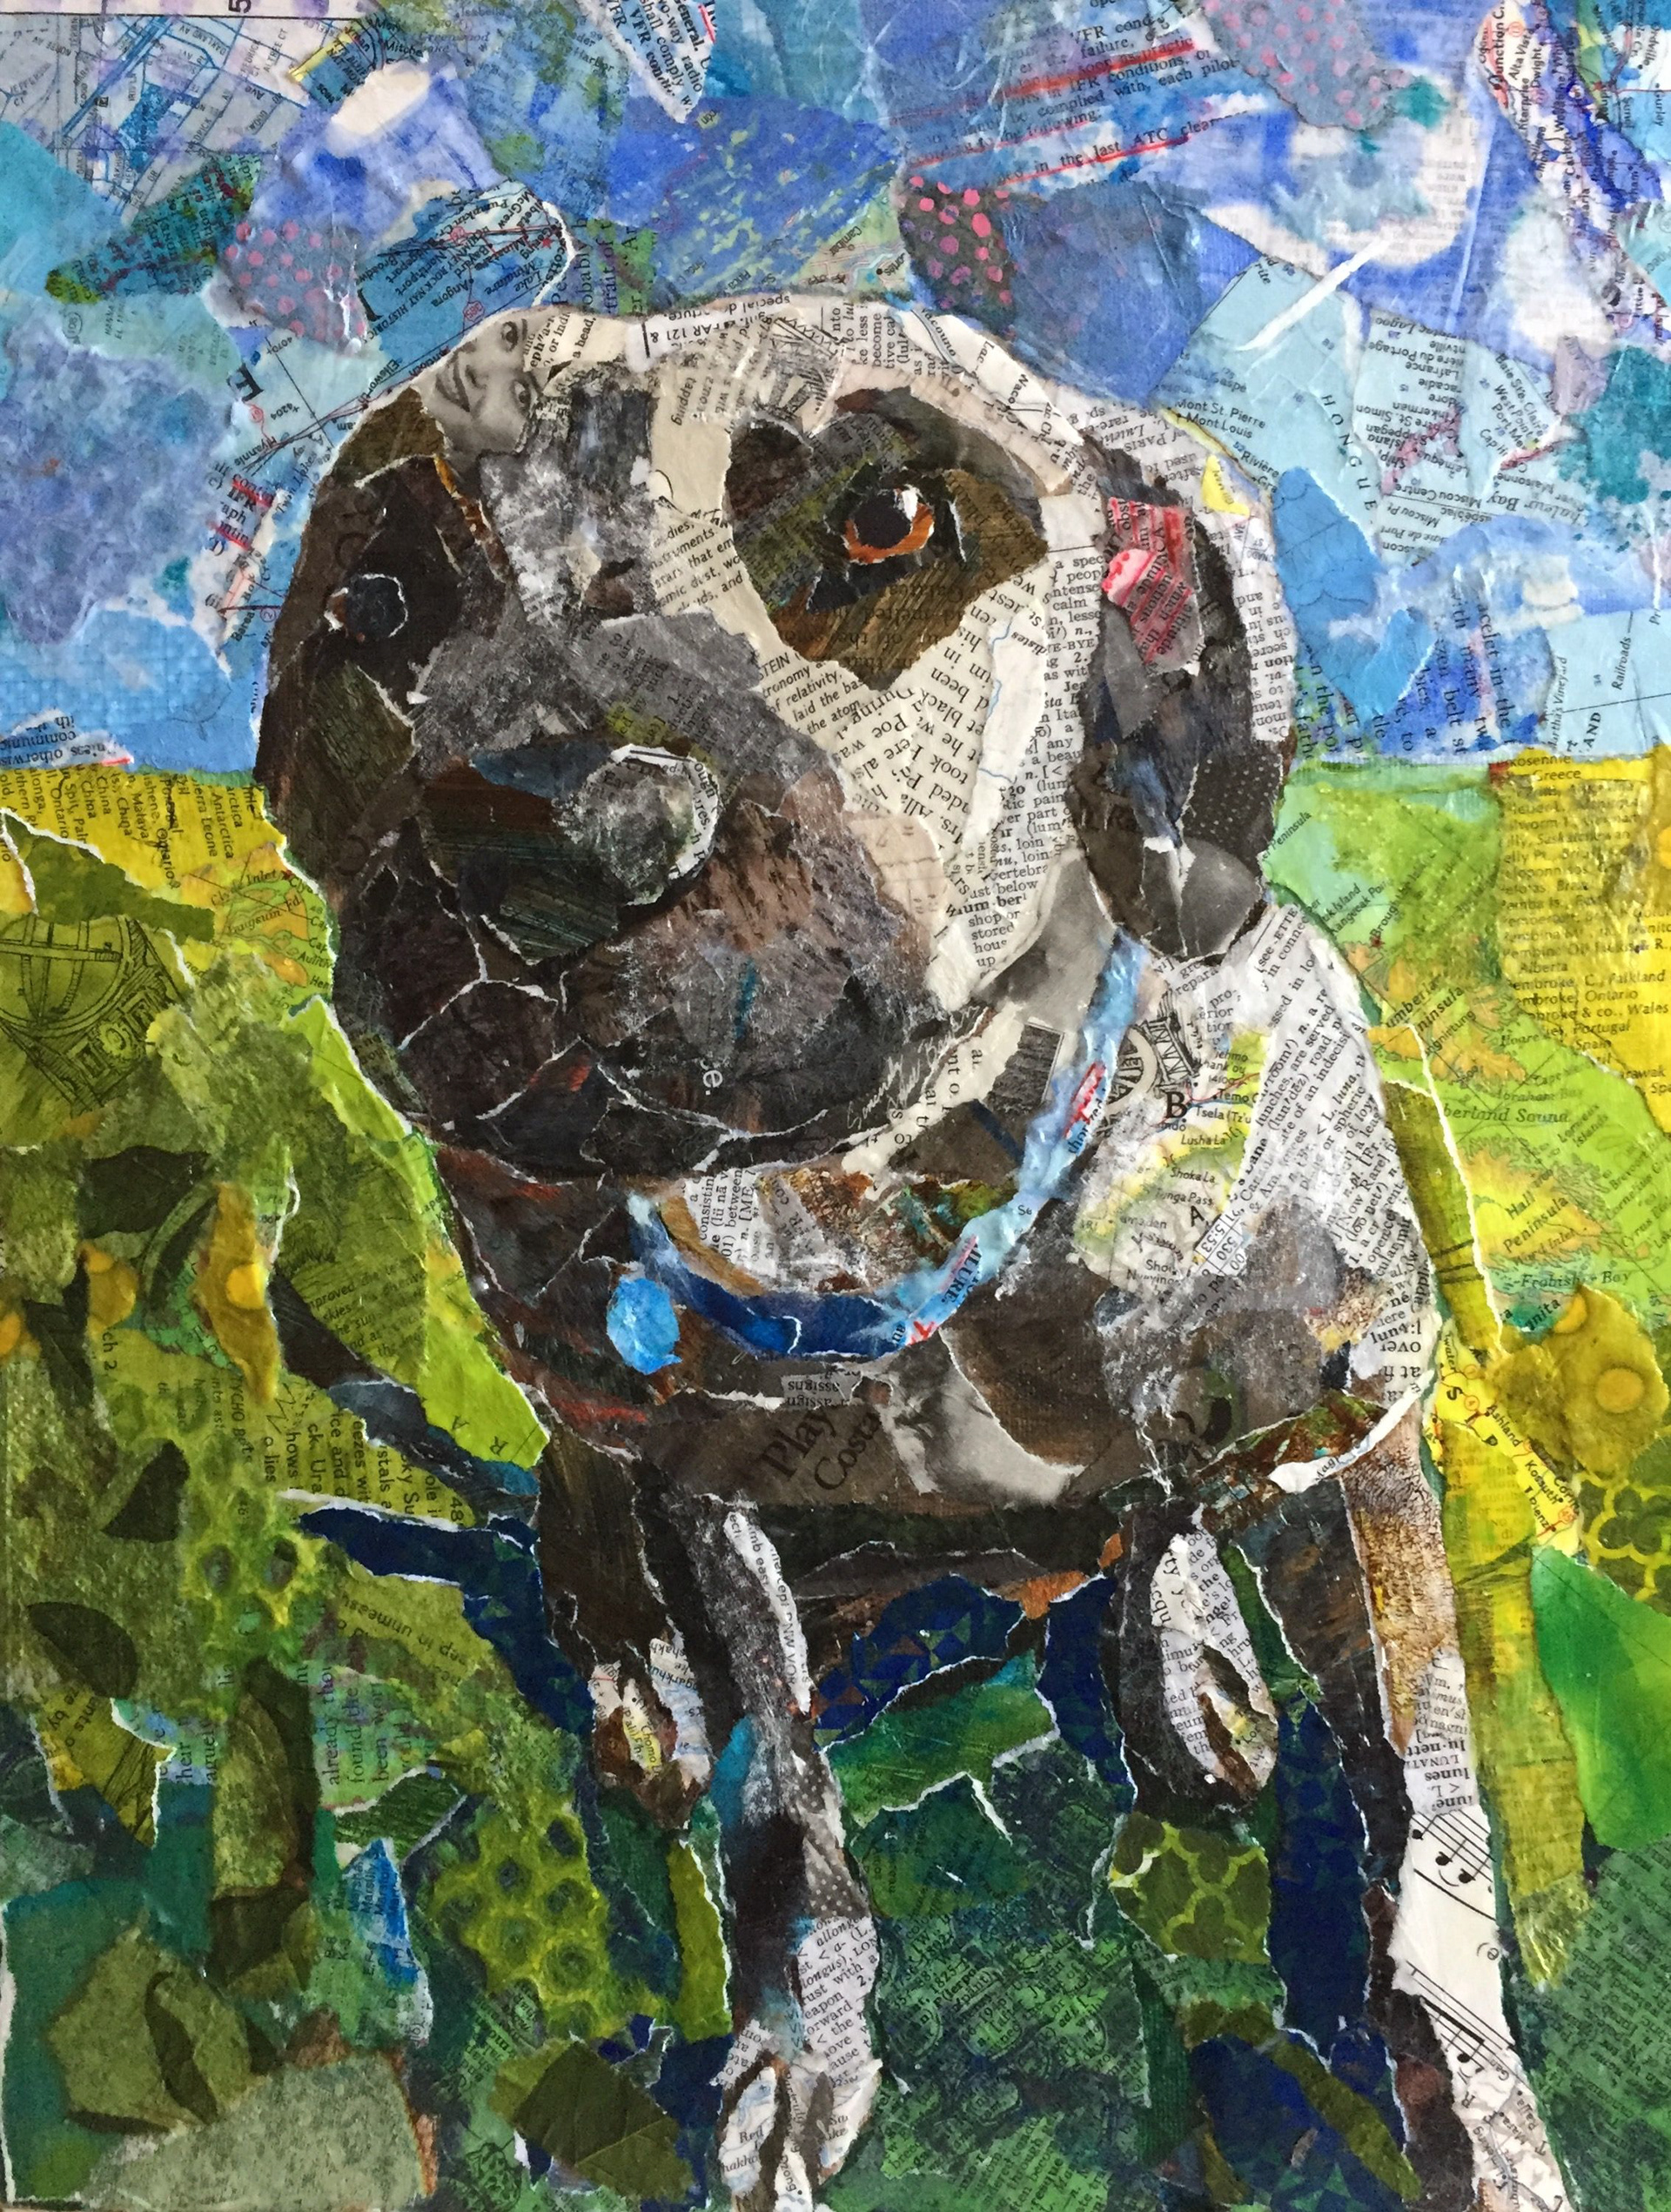
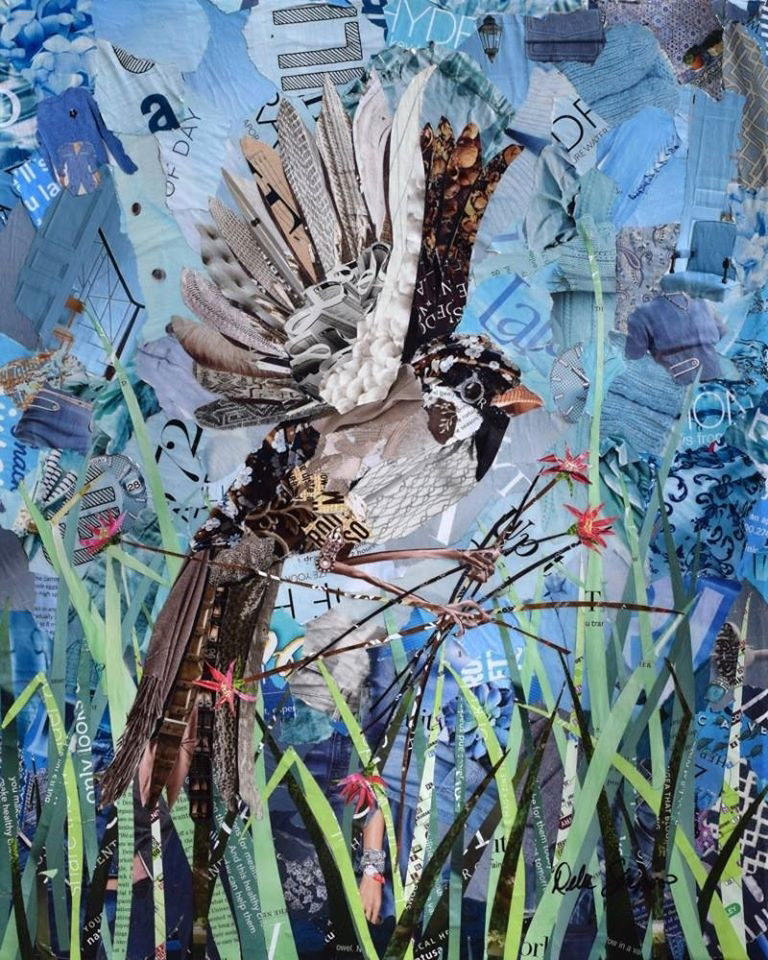
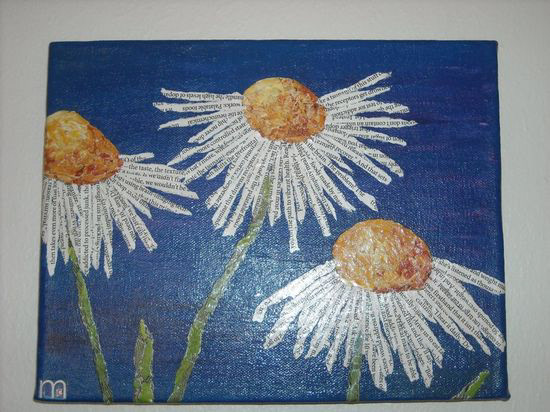
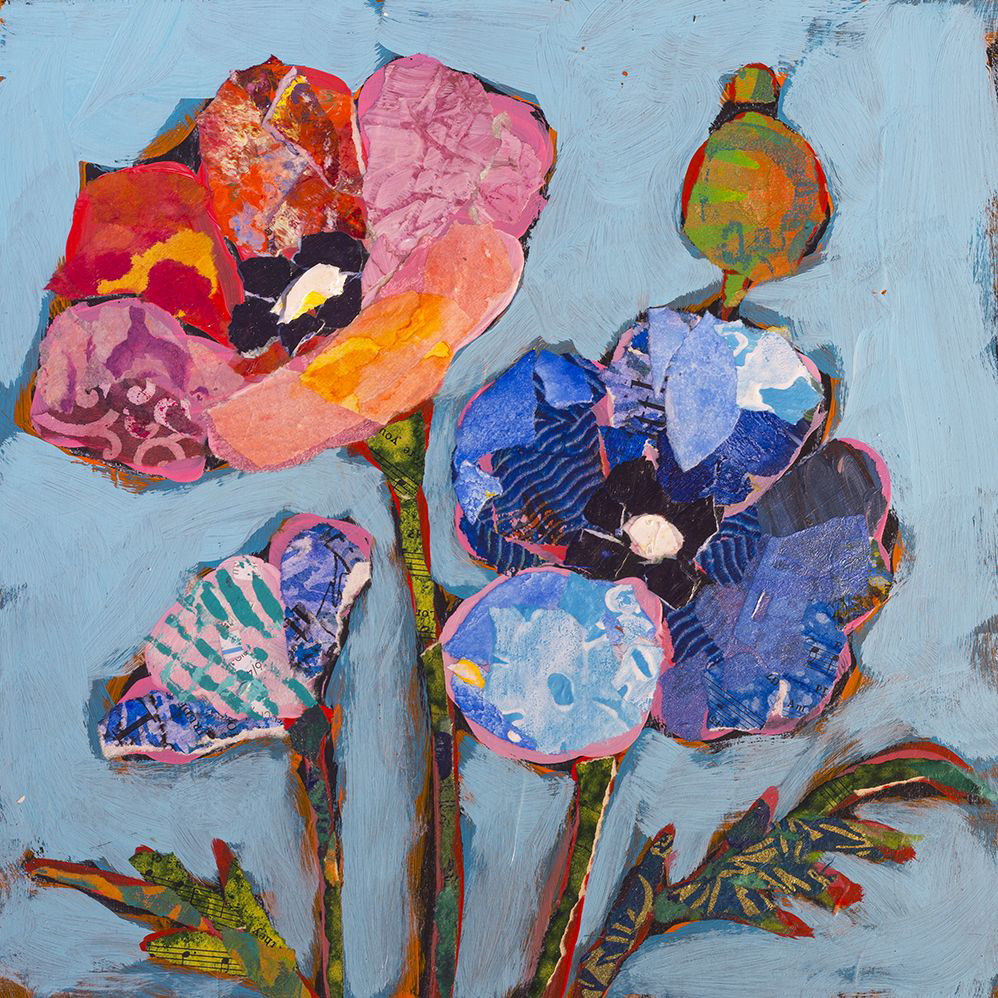
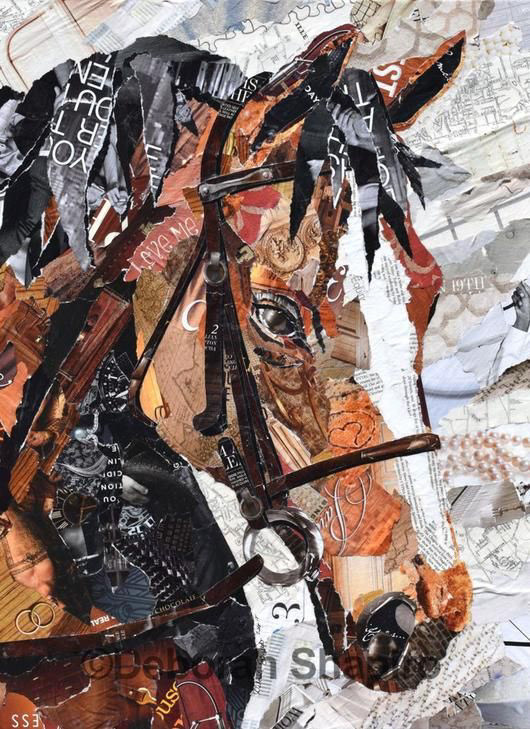
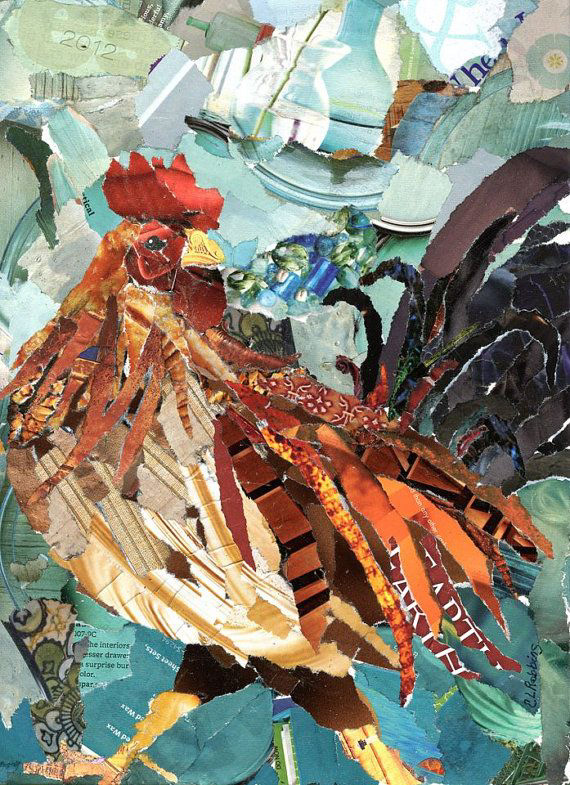
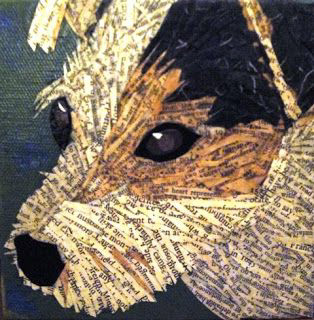
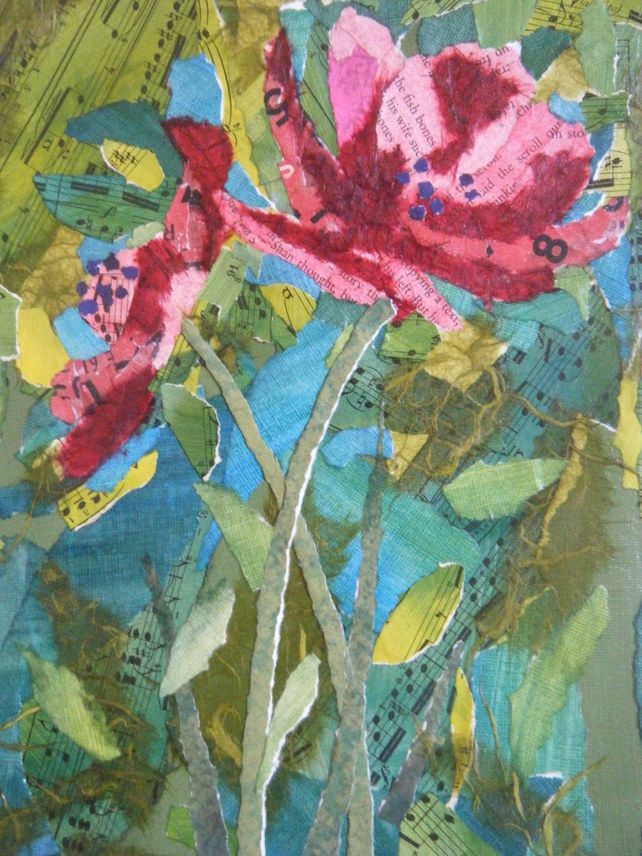
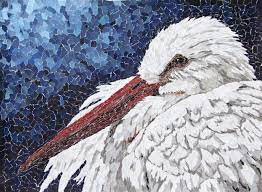
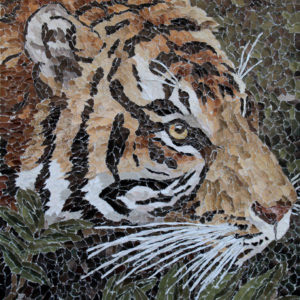
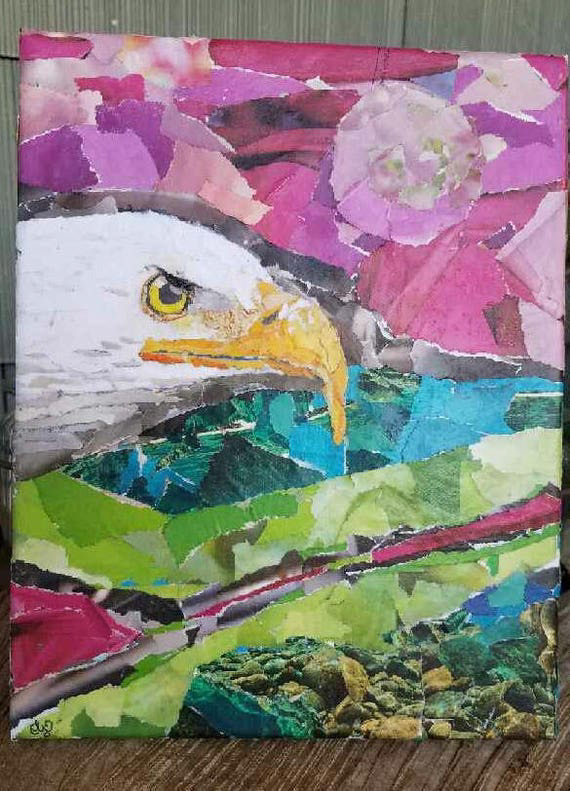
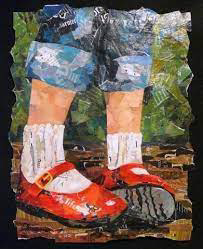
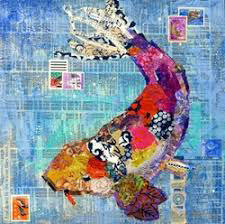
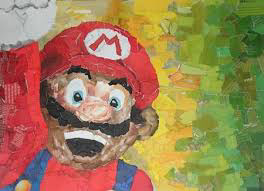
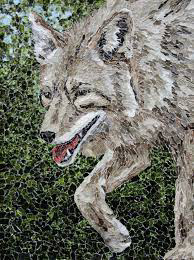
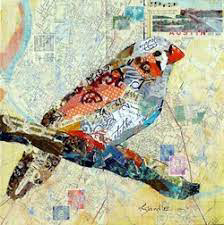
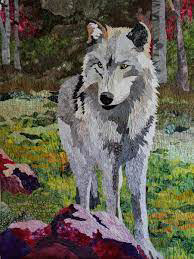
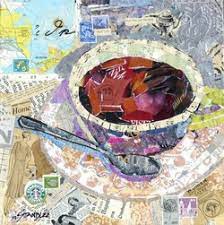
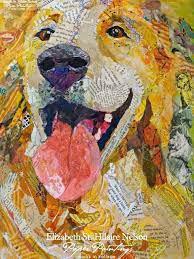
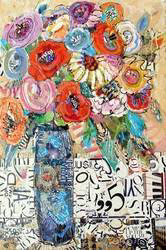
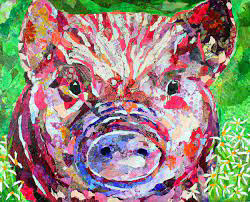
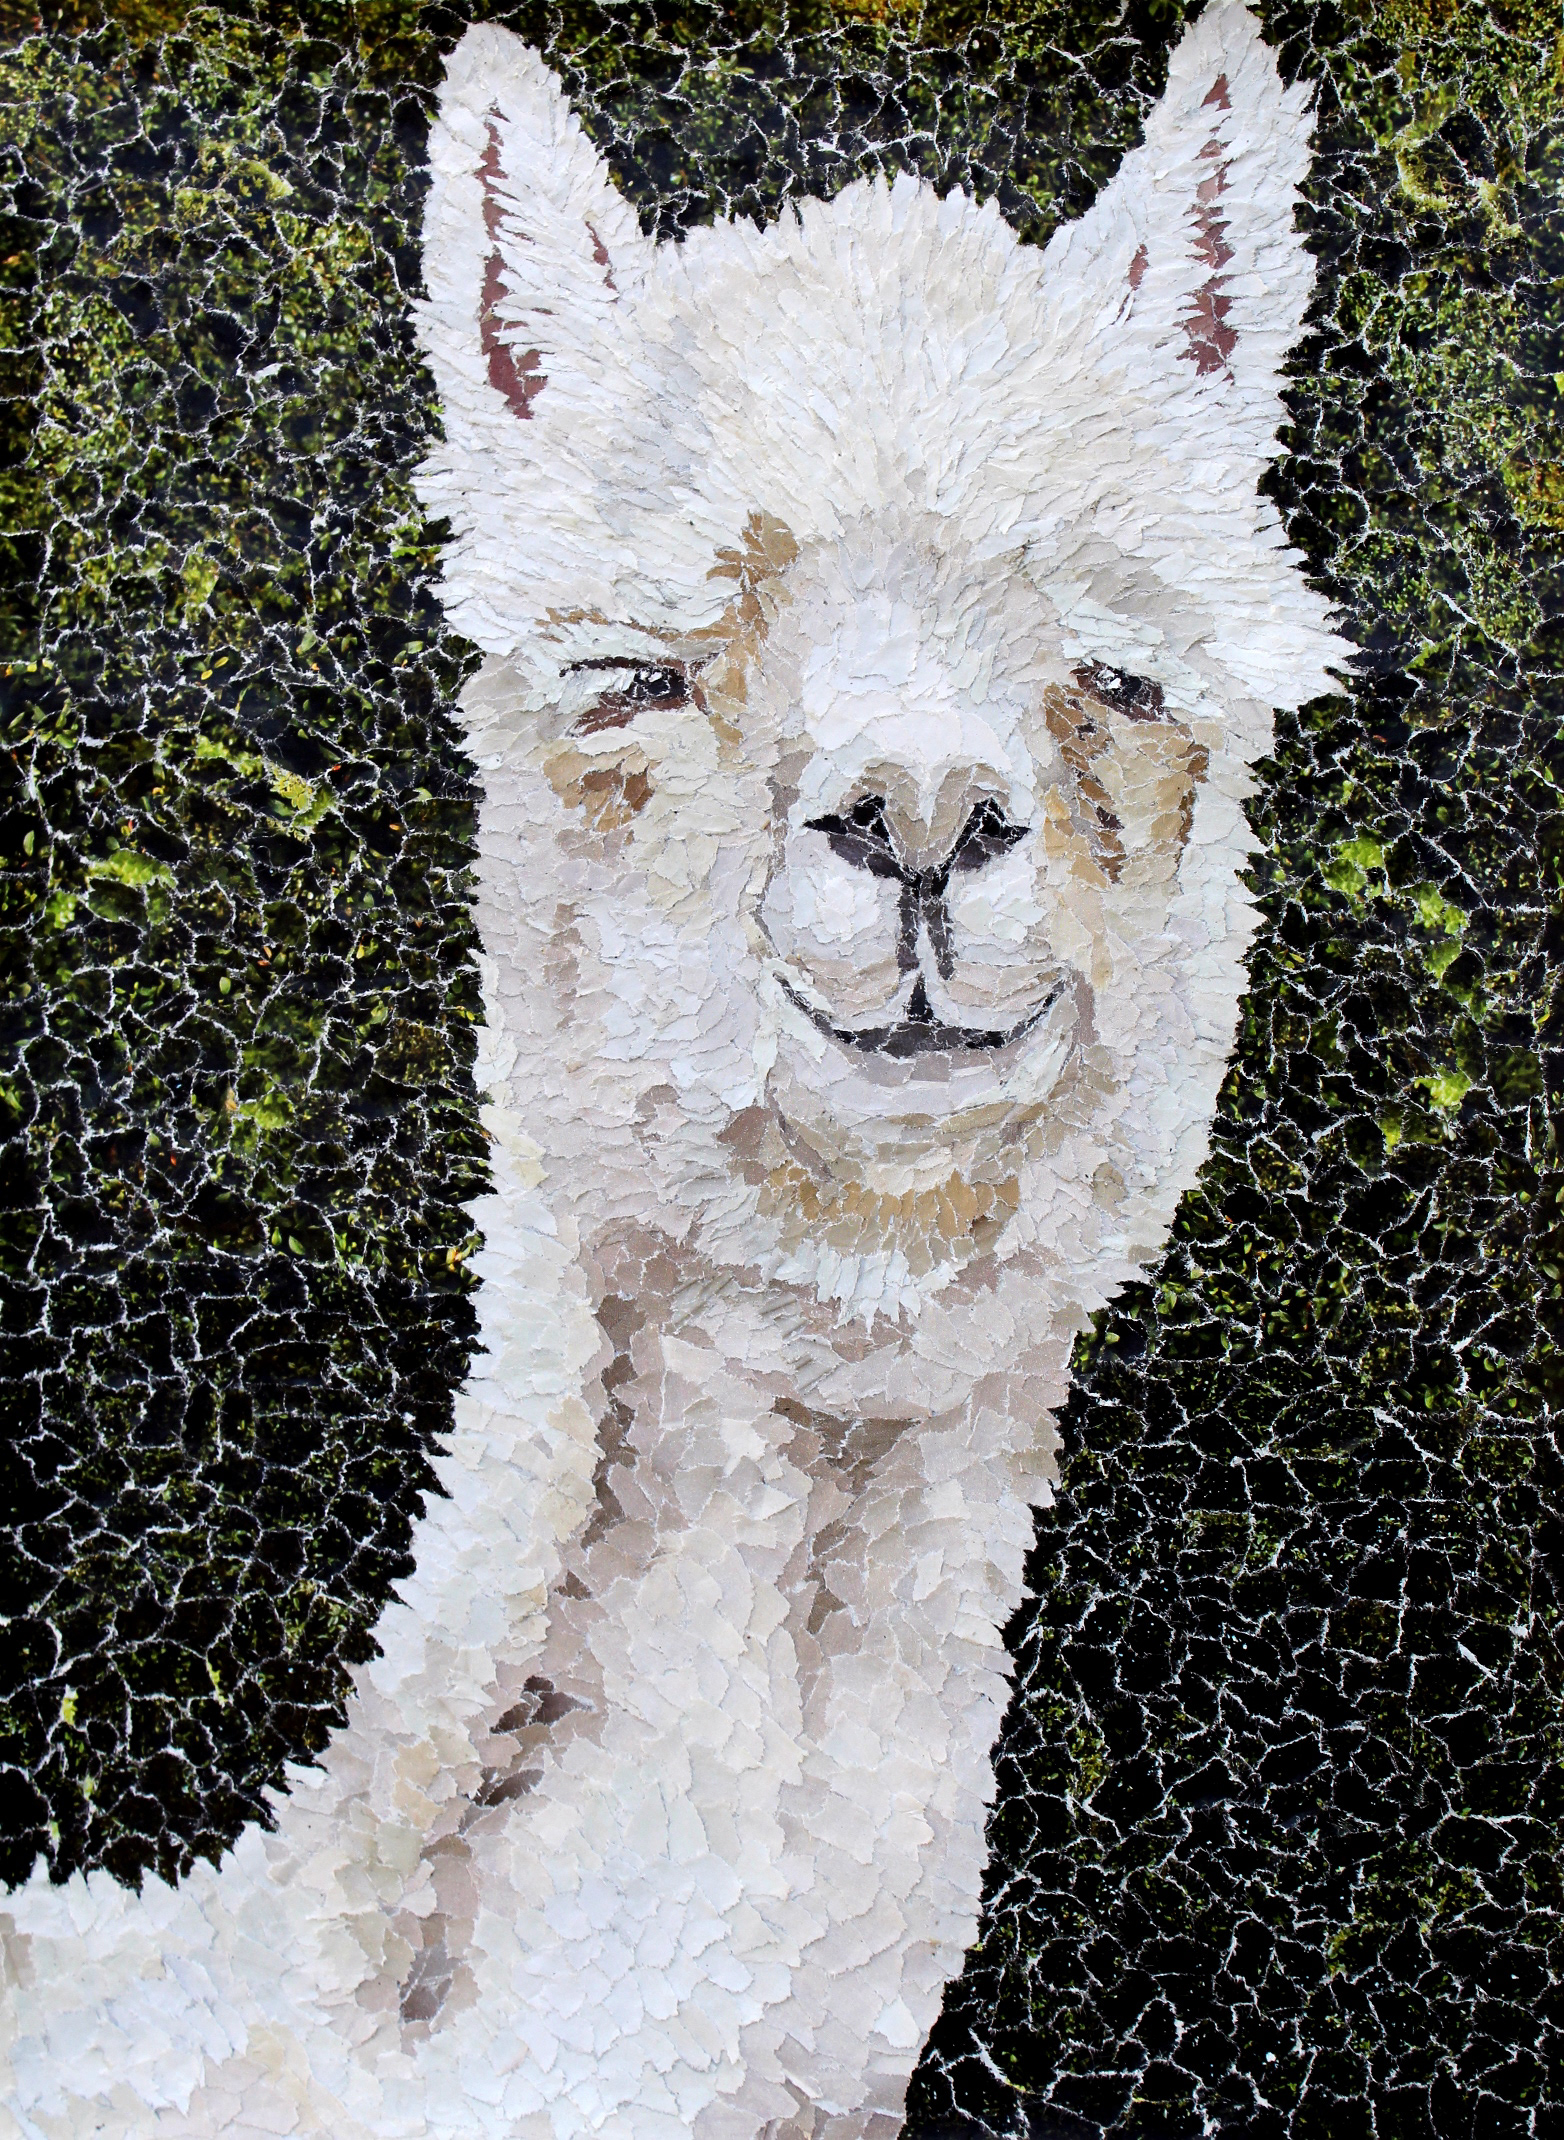
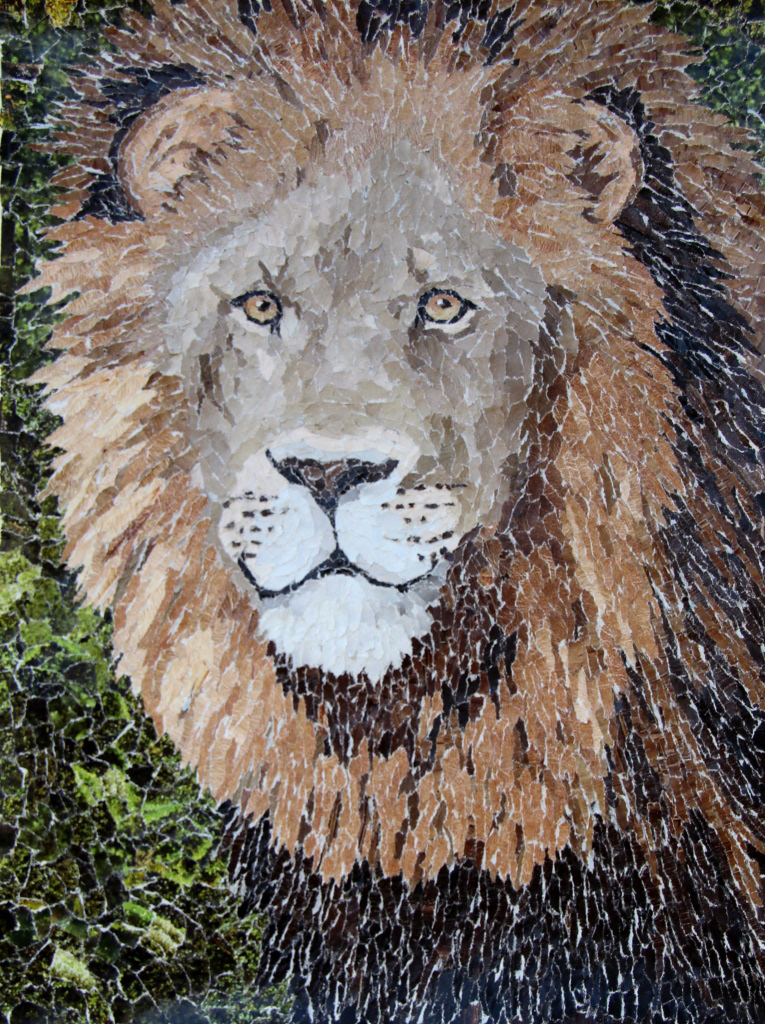
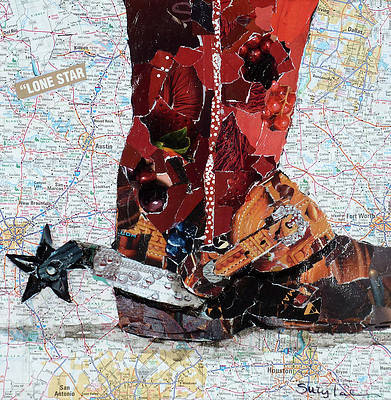
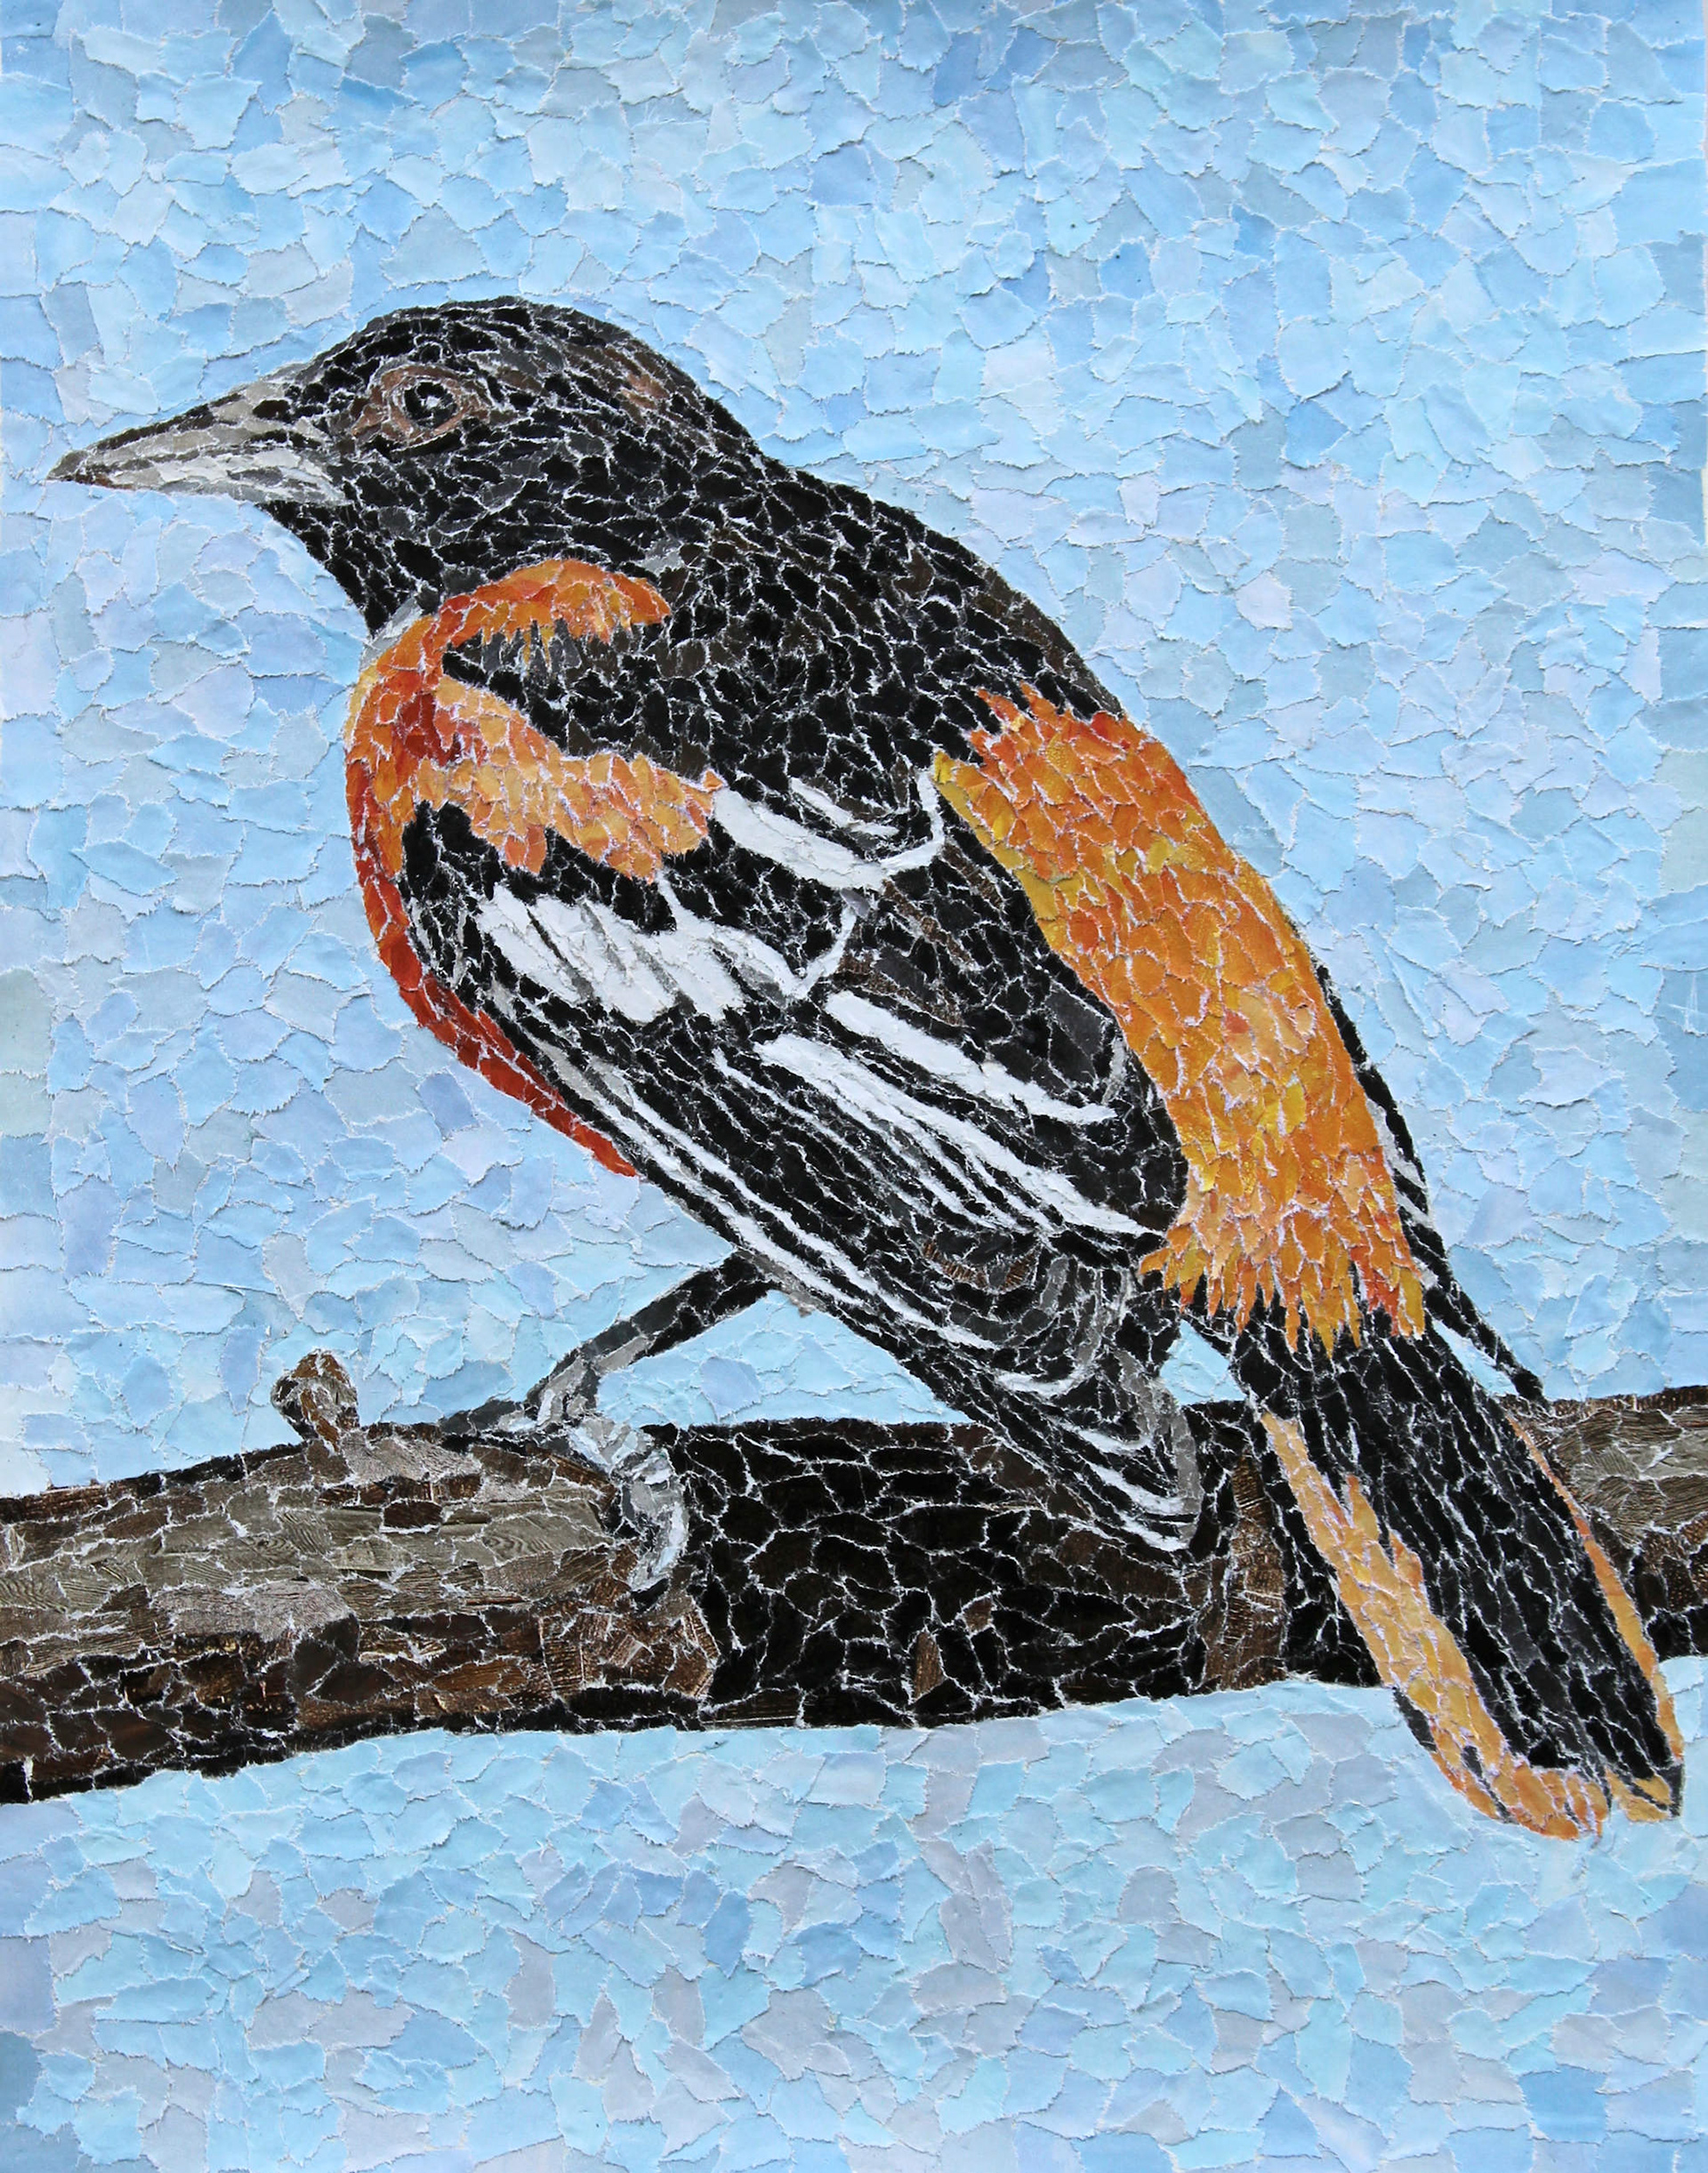
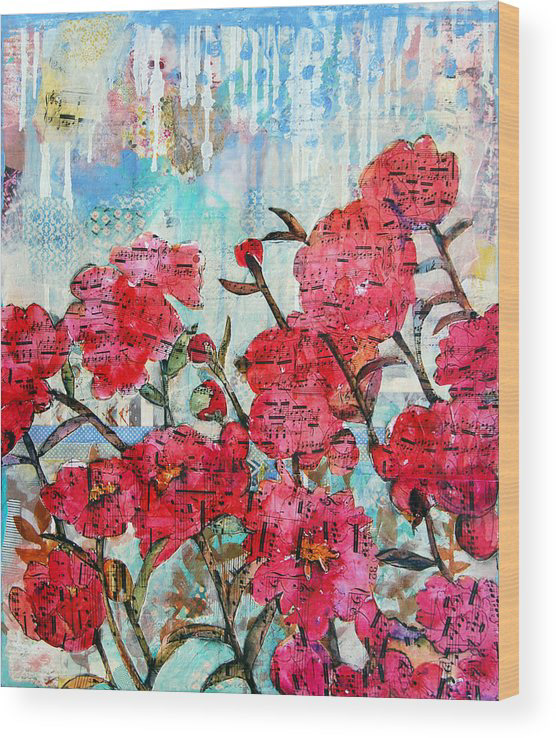
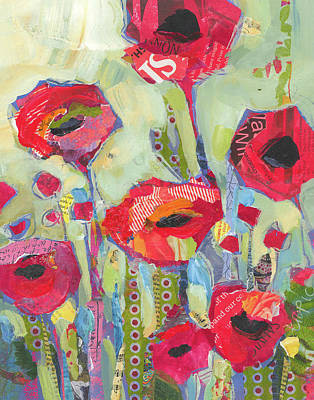
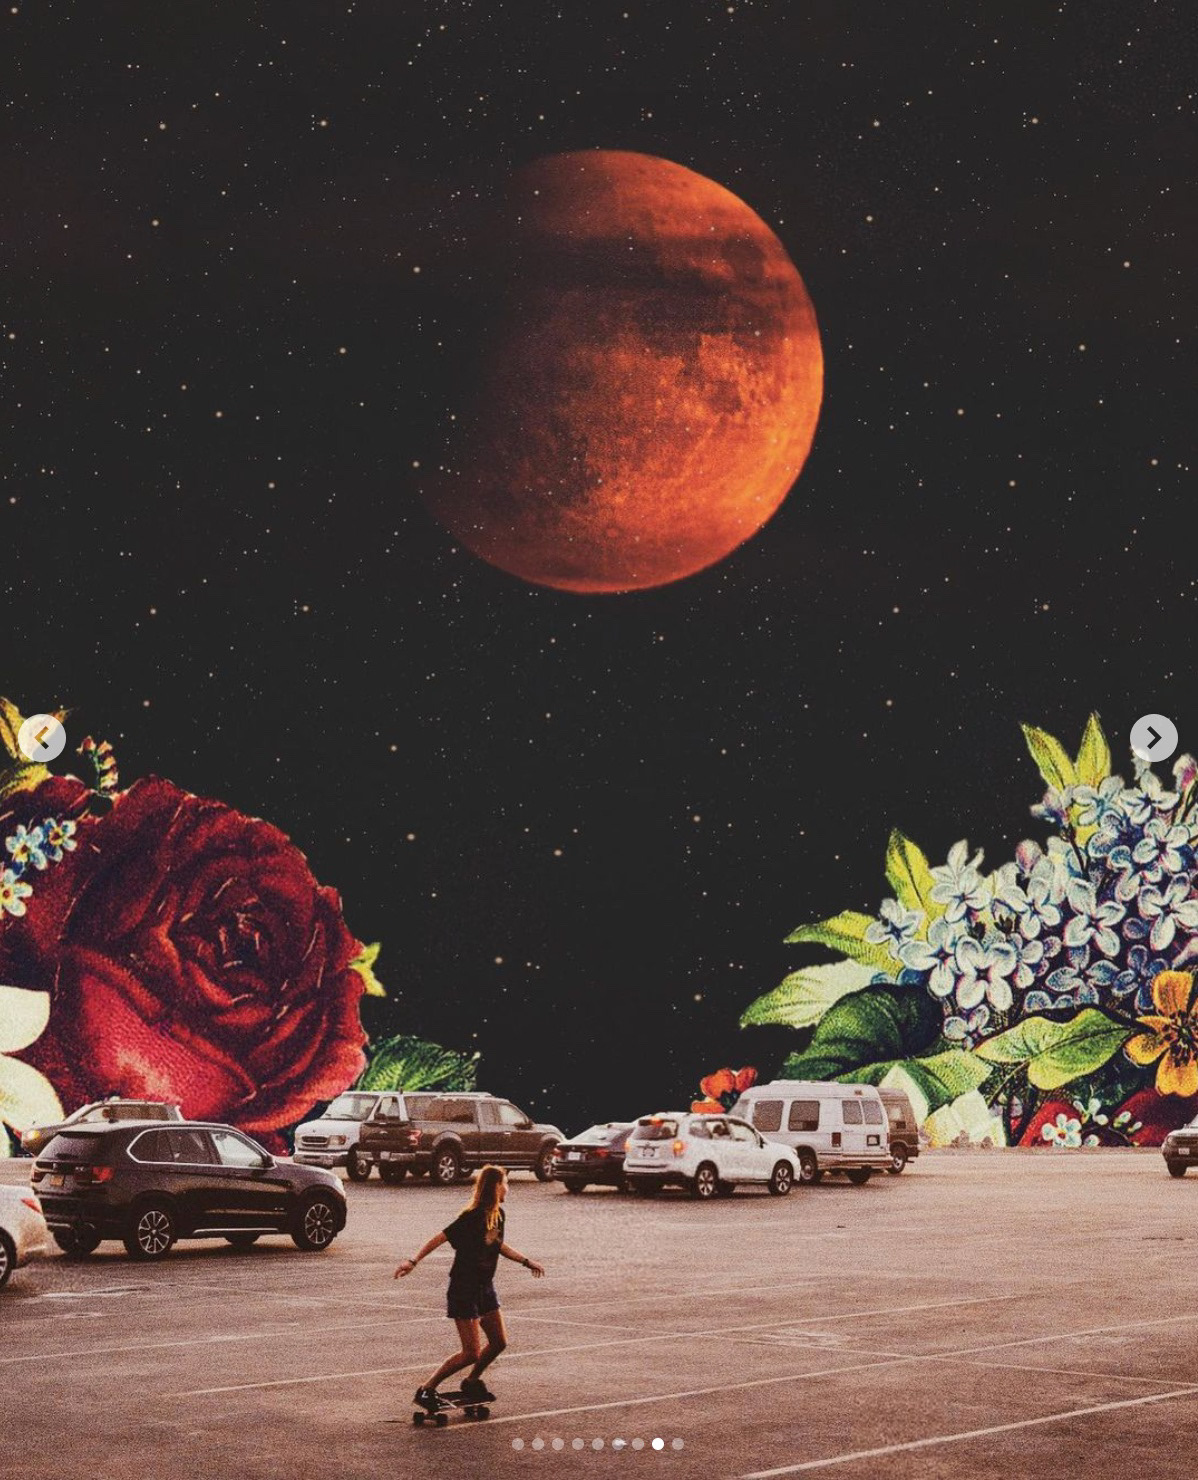
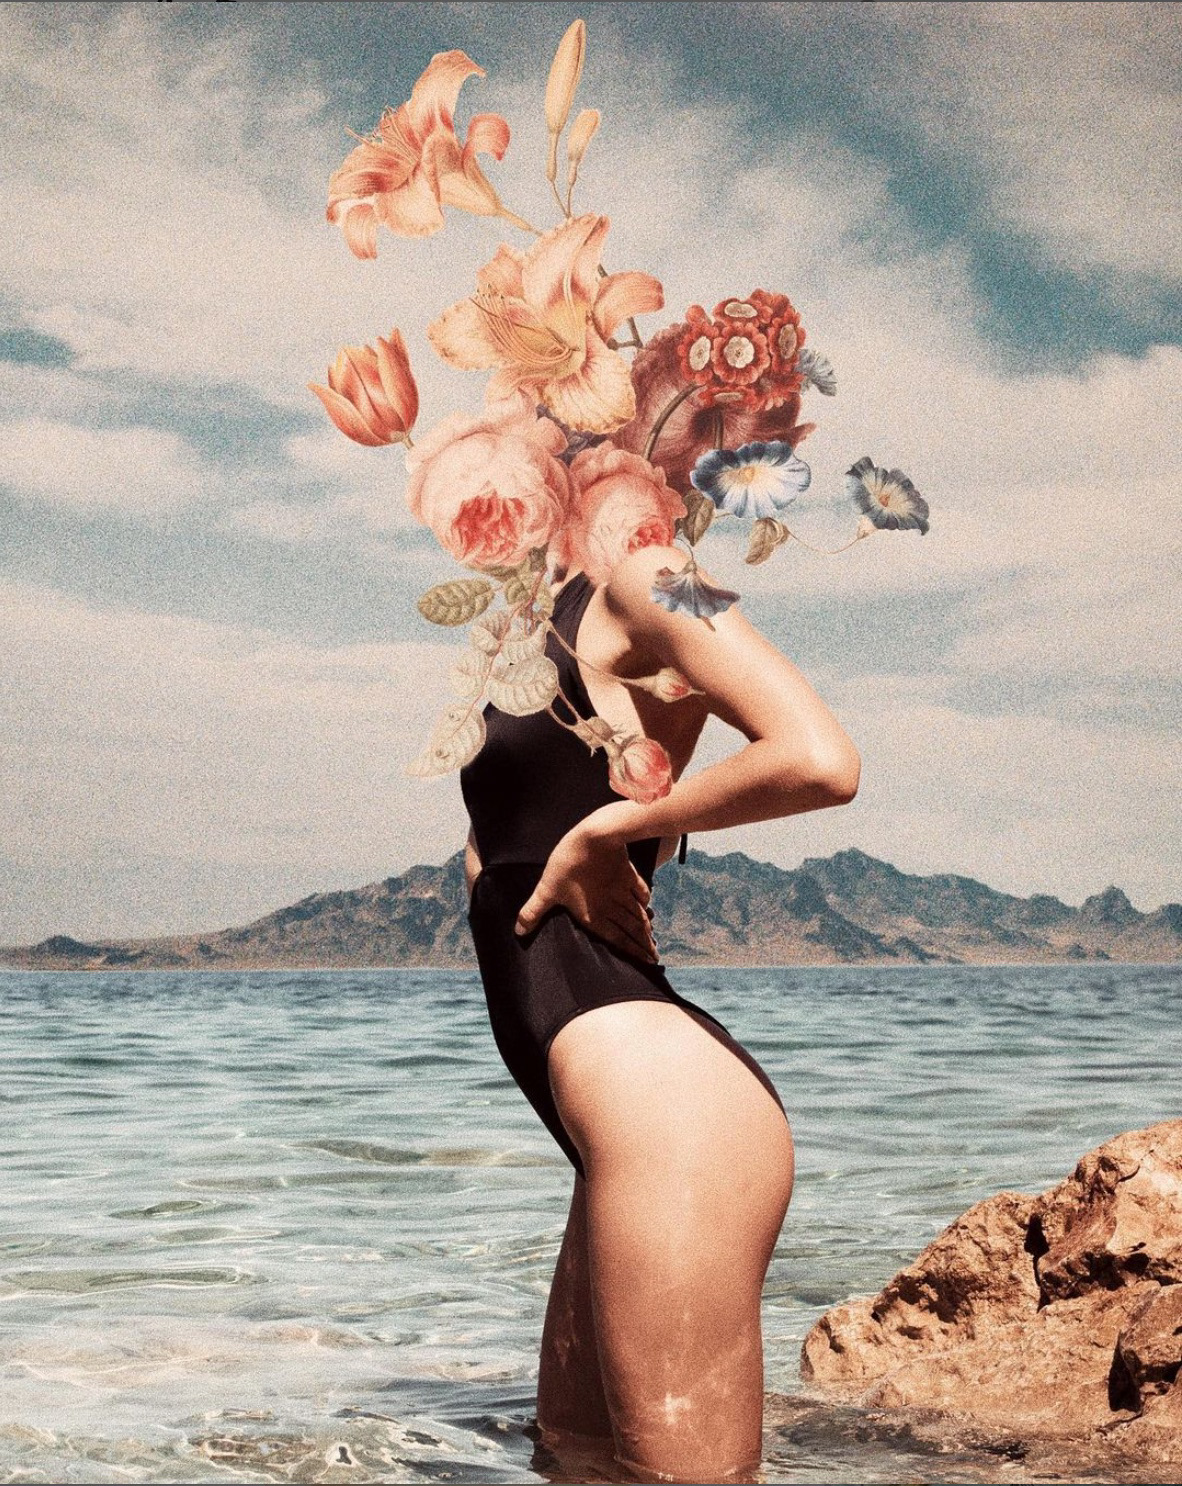
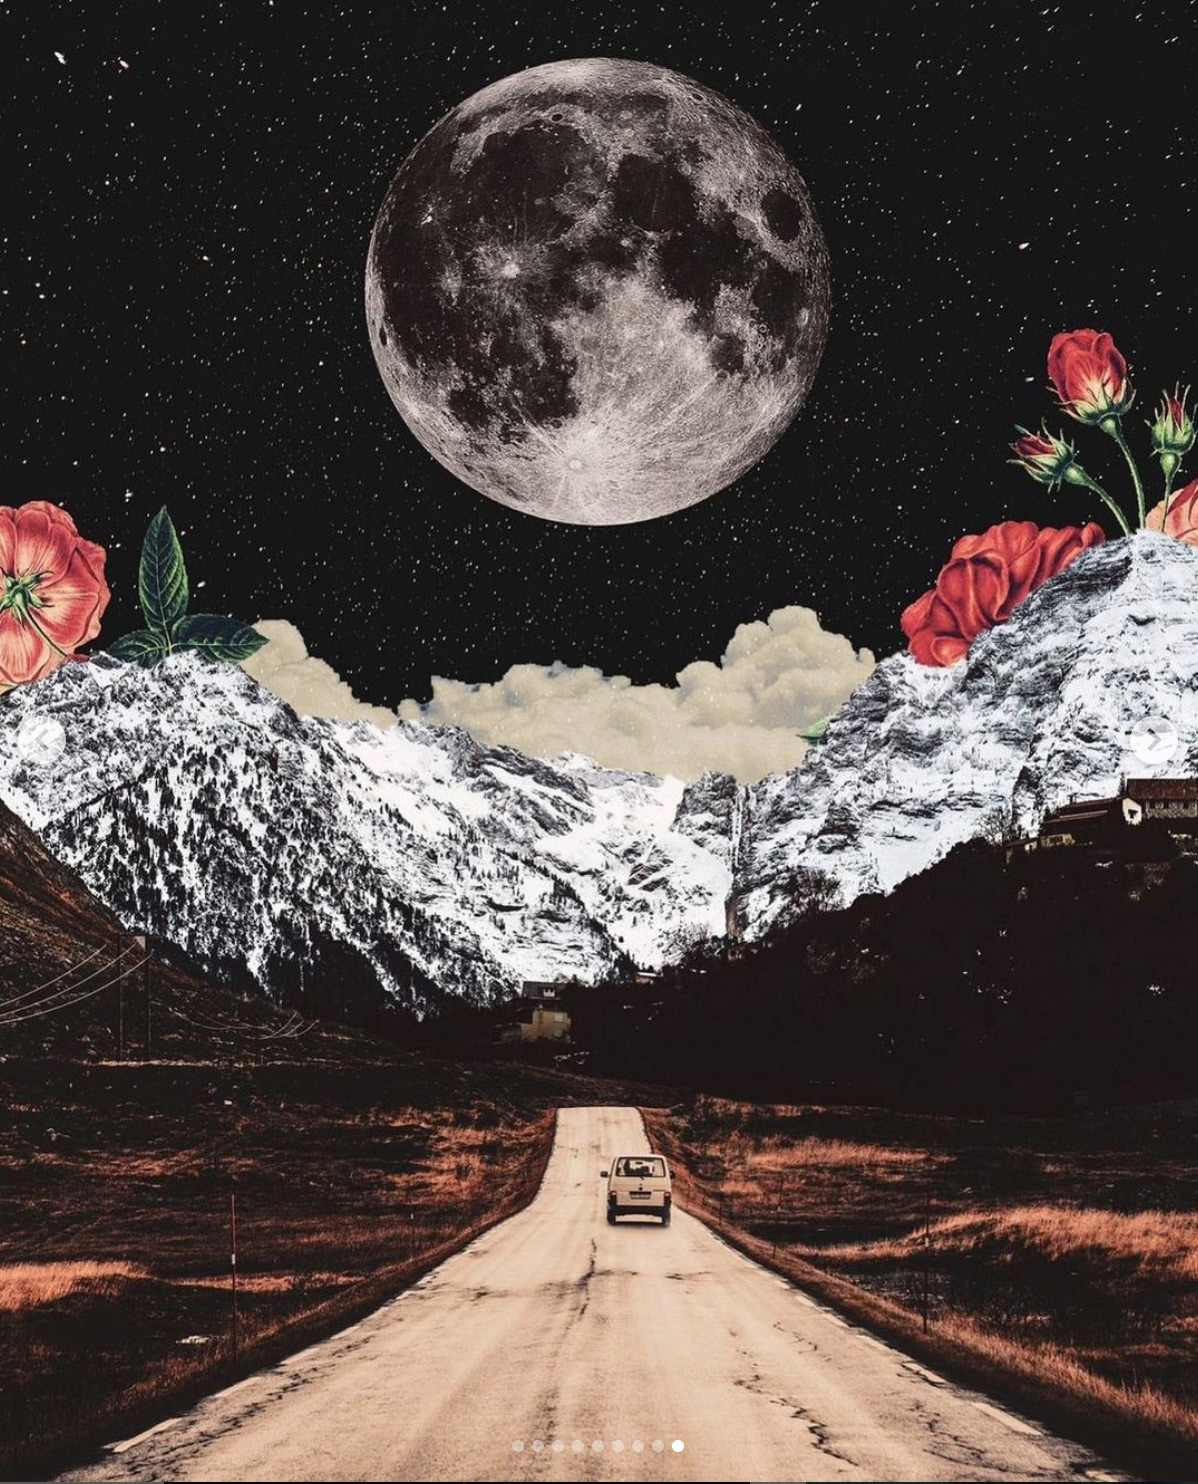
Collage Portraits
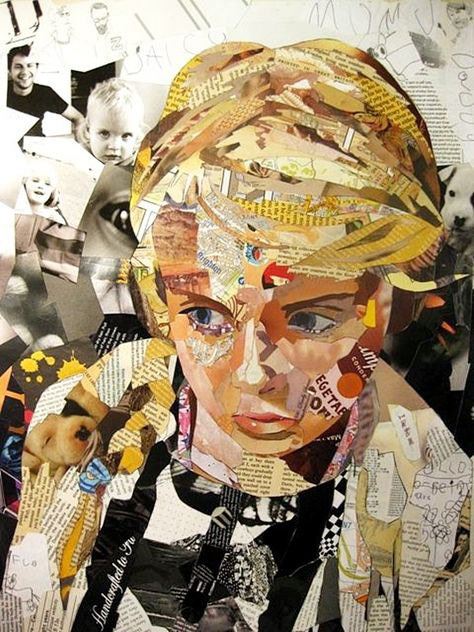

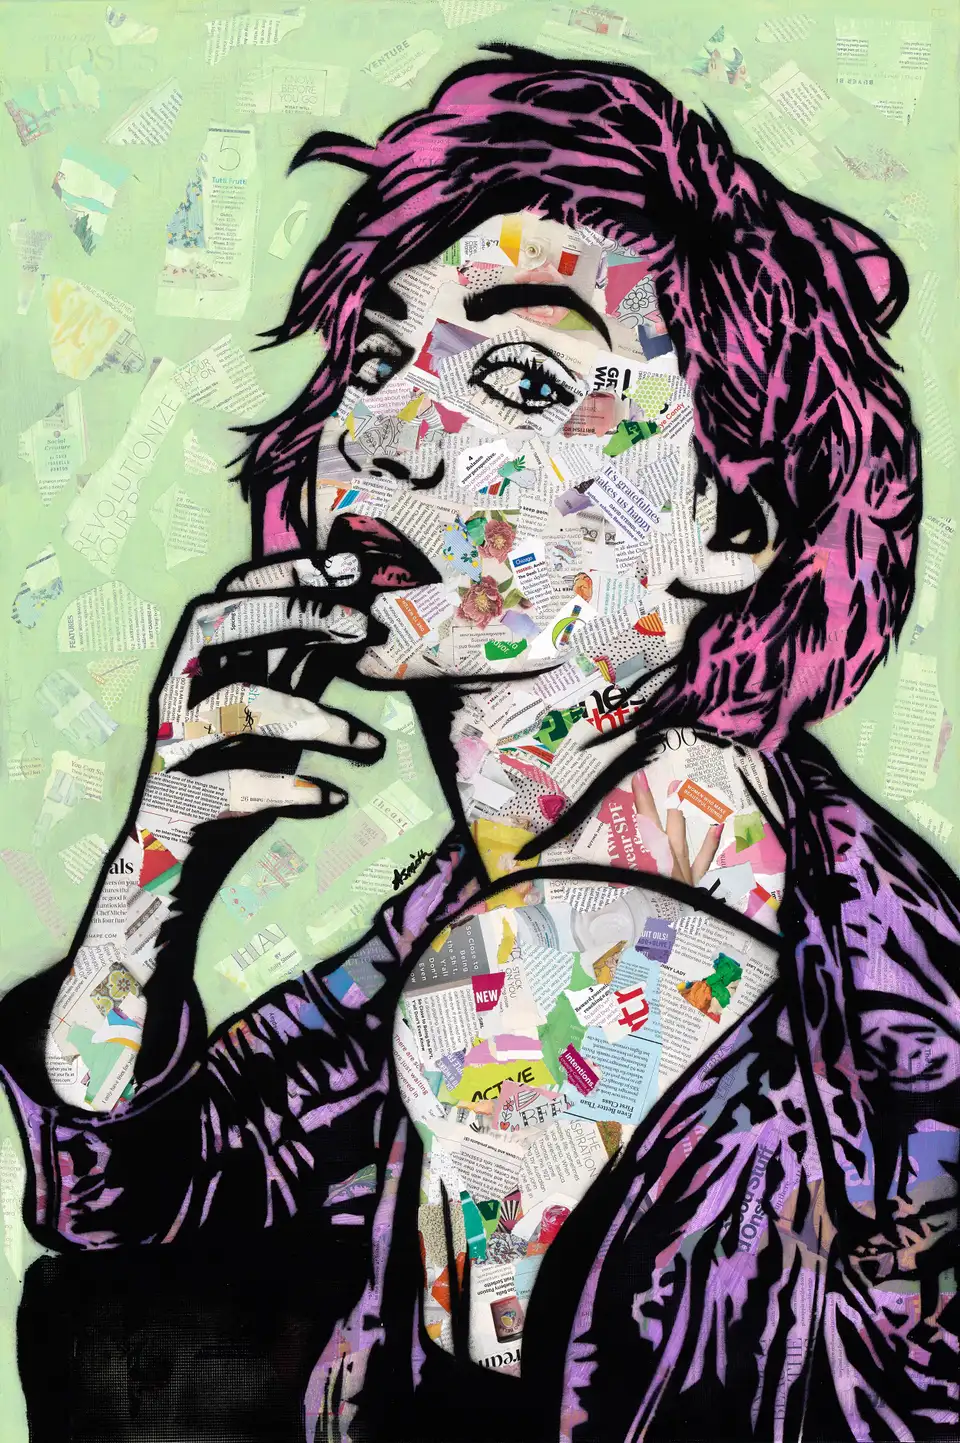
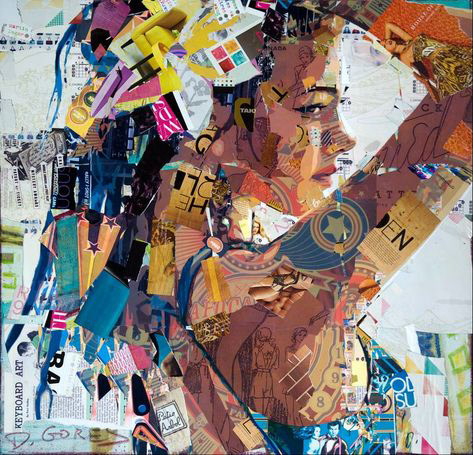
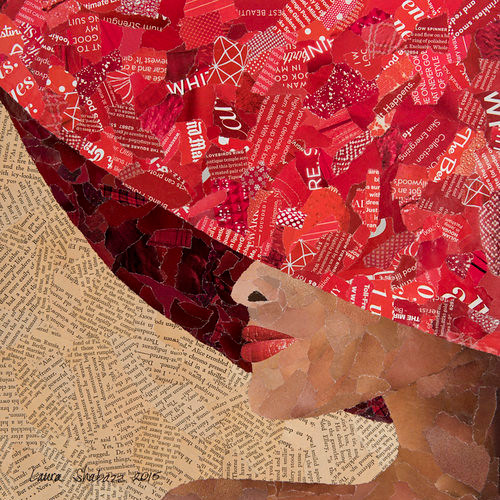
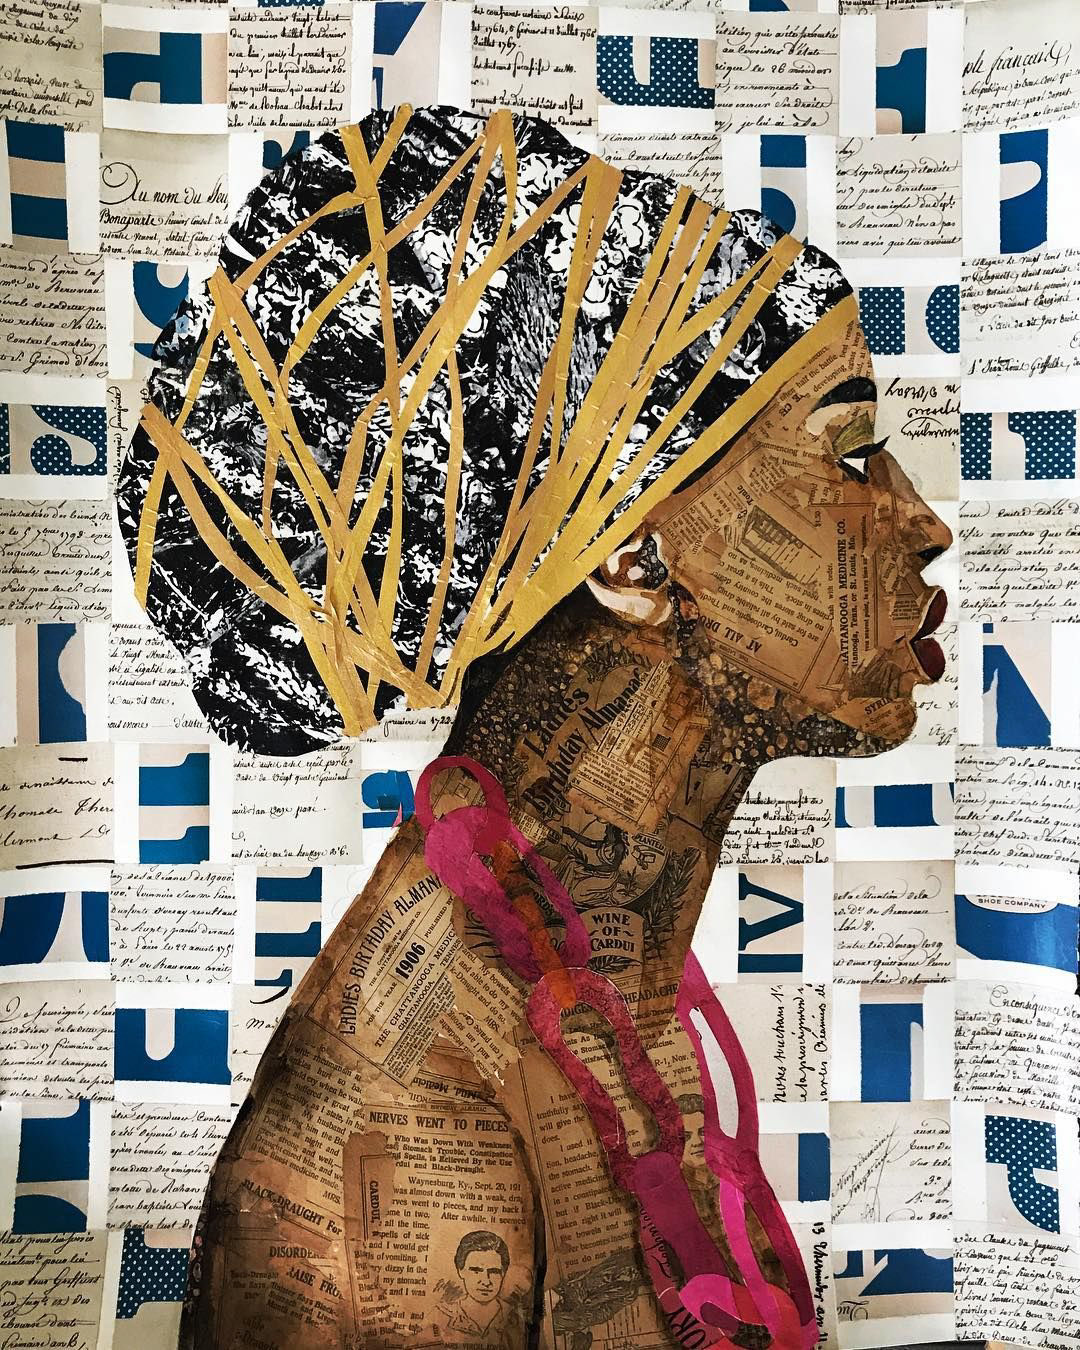
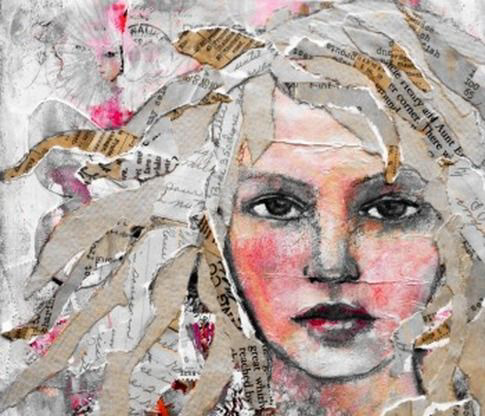

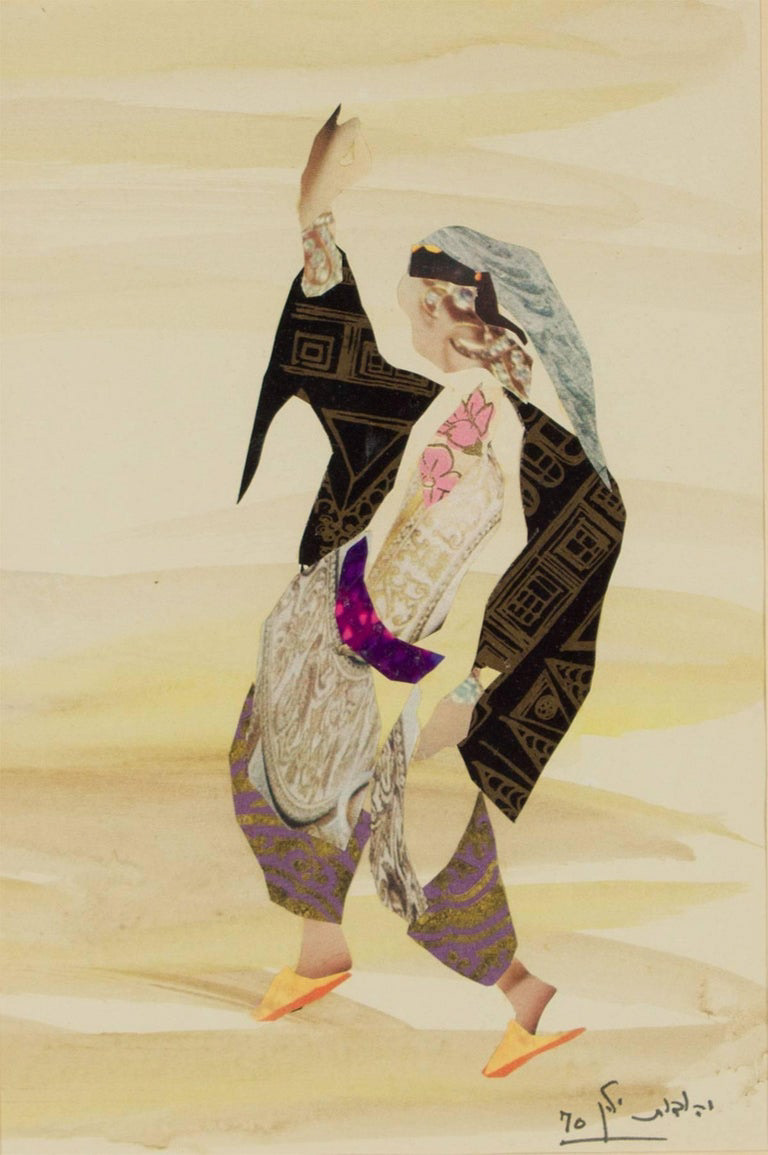
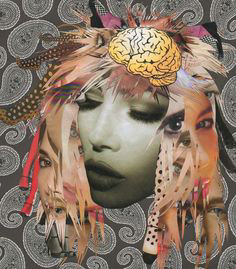
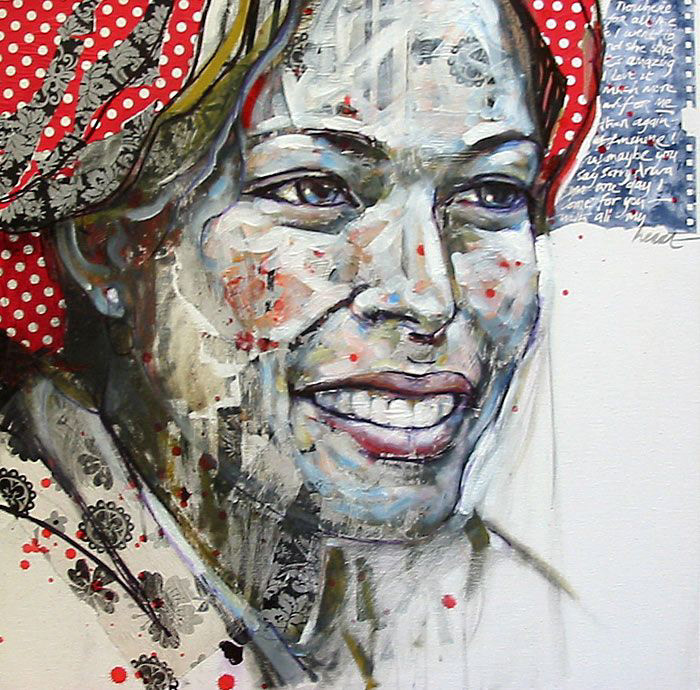
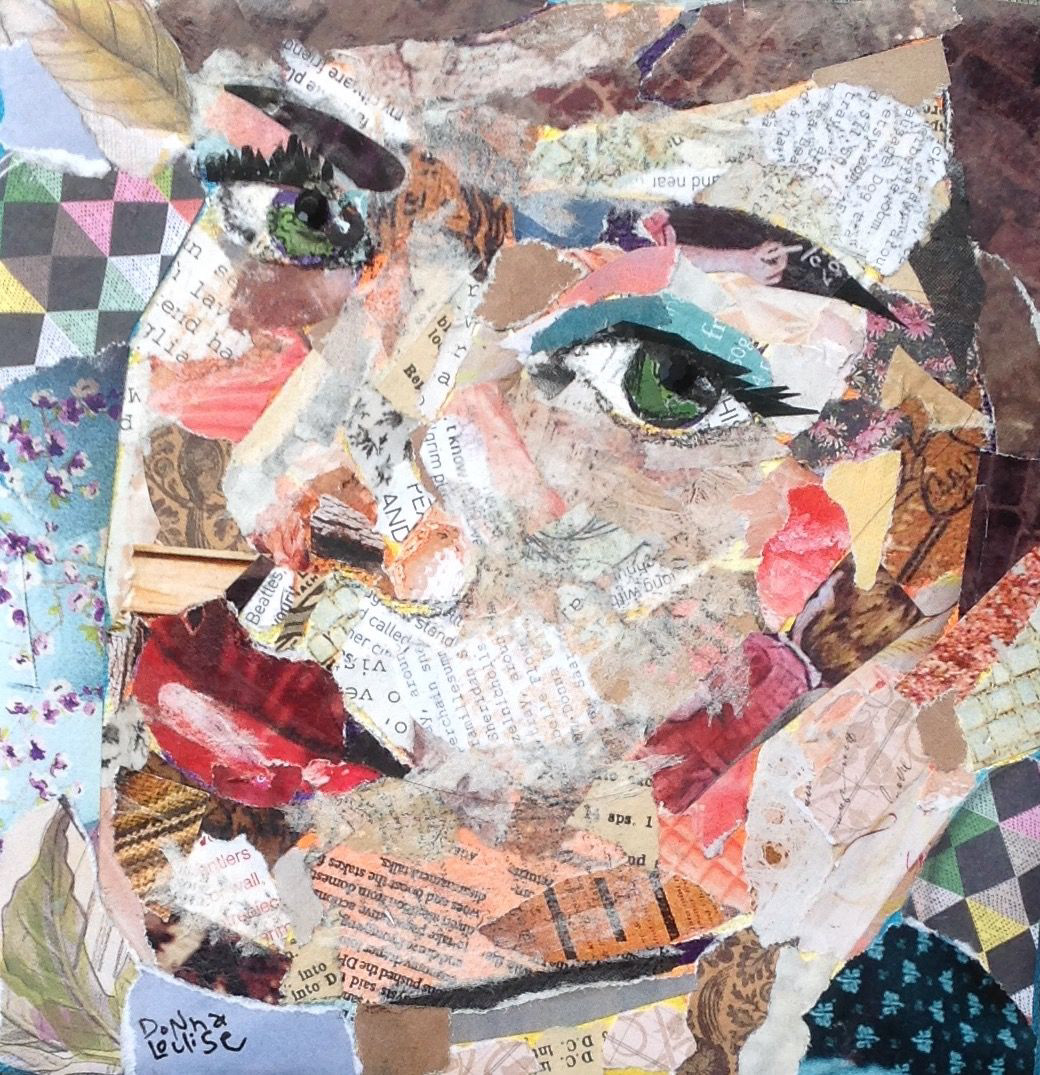

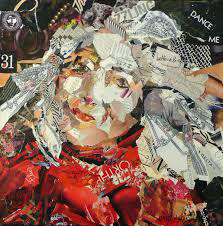
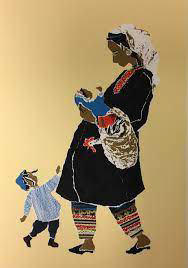
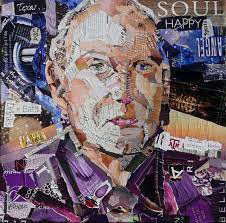
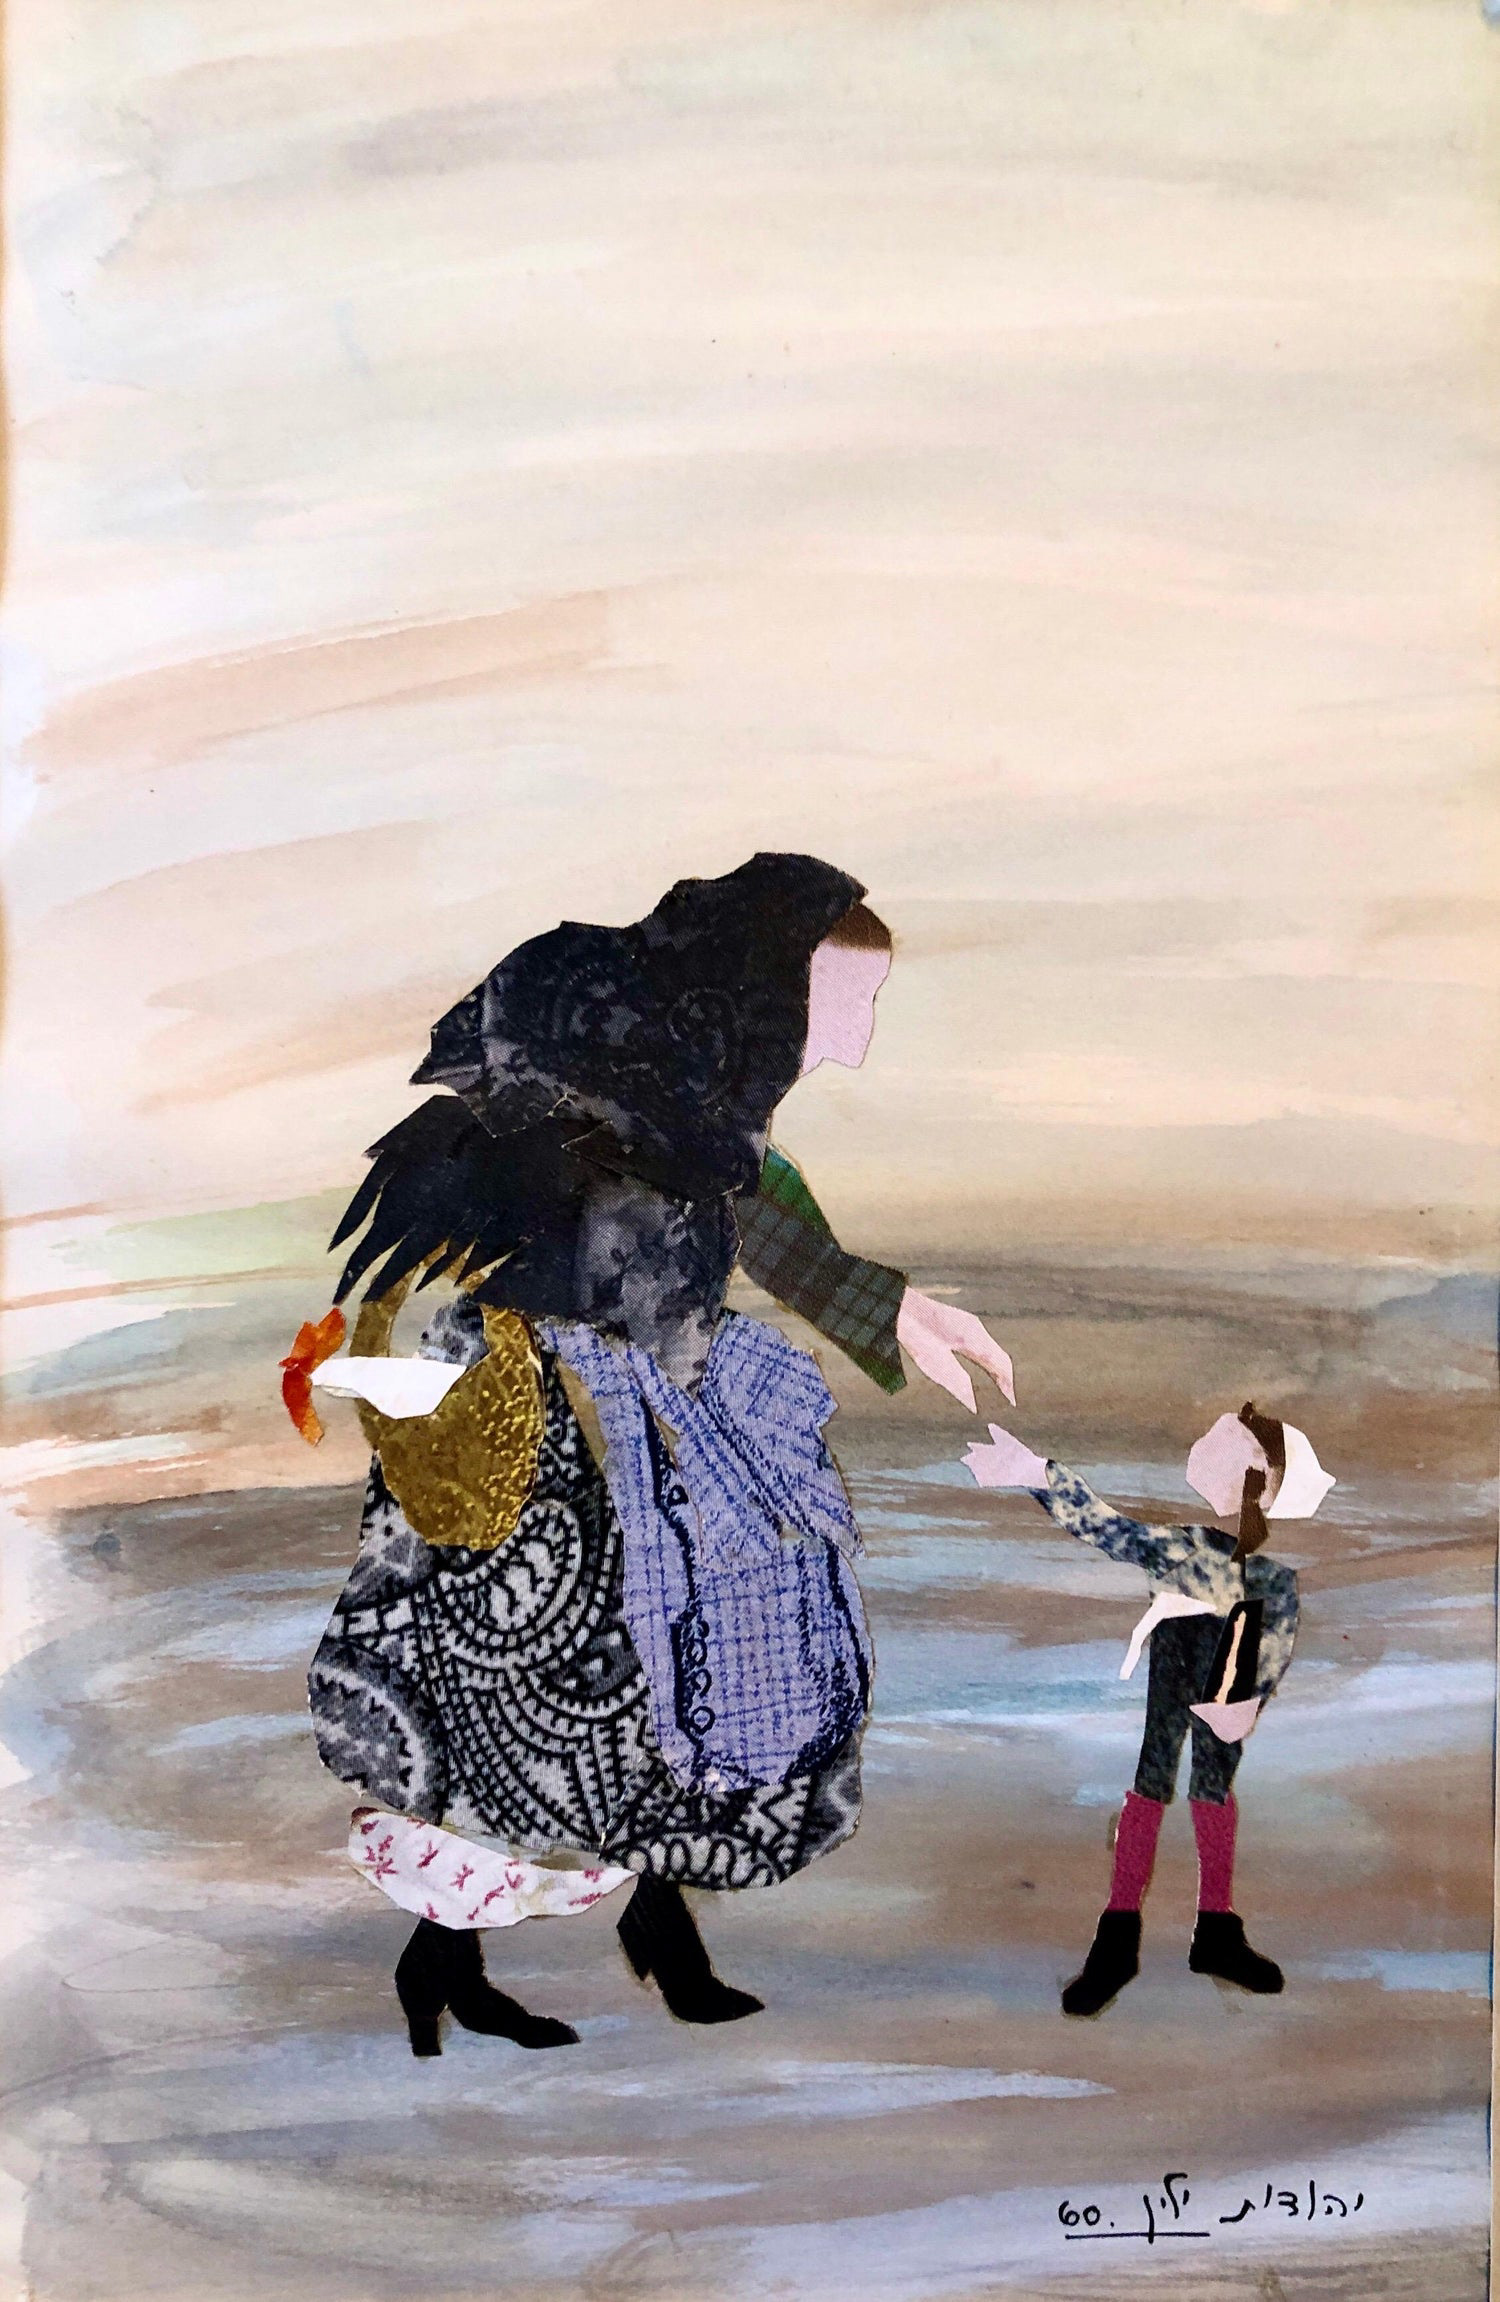
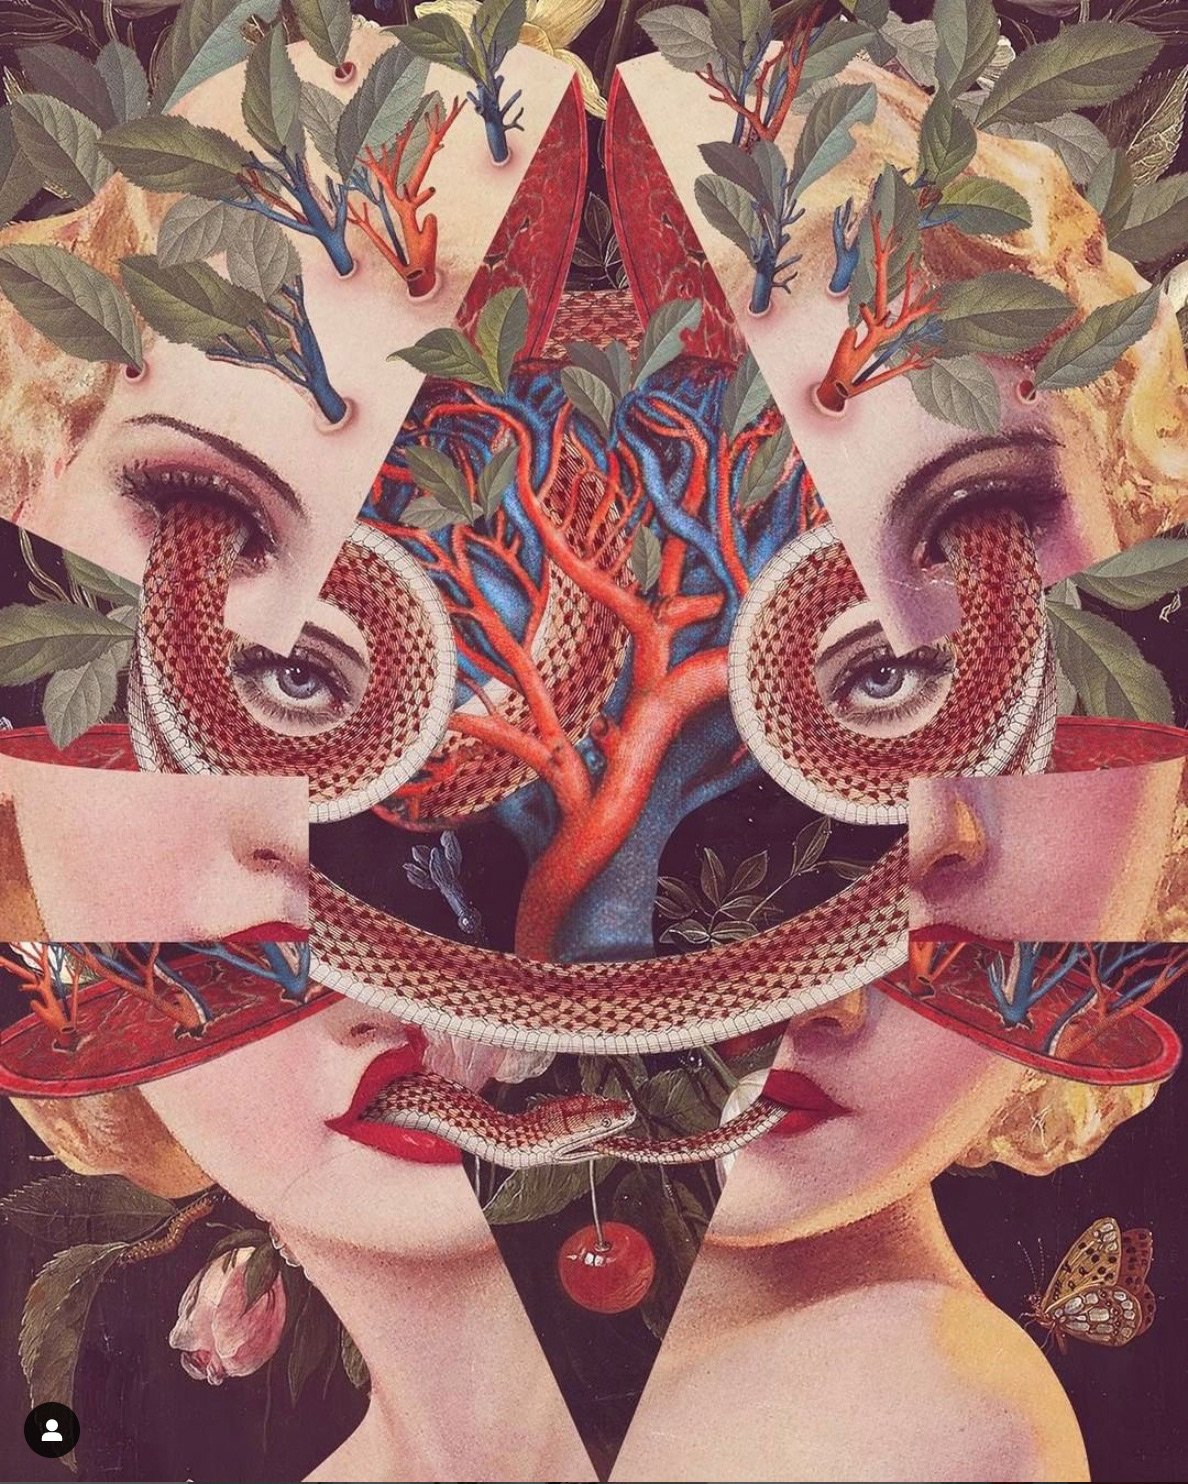
Duality Collage Project Examples
(click to enlarge)


Collage Artists