Pixelate images with mosaic or blur effects.
Use pixelation in Adobe Photoshop to add an 8-bit graphics style to images or just to obscure sensitive information.
What is pixelation?
To understand pixelation, it helps to know how pixels combine to form digital images. Most image files, like JPG, PNG, and GIF, are bitmap. In other words, they’re maps of bits — essentially grids of pixels that blend seamlessly to form images. A pixel is the smallest square of hue, saturation, and light (HSL) that makes up the grid in a digital image.
Pixelation happens when, instead of blending seamlessly, pixels become visible to the naked eye. You can get accidental pixelation when you resize an image to dimensions that are too large for its resolution, but you can also create cool effects by intentionally pixelating an image. In fact, a whole genre of pixel art has grown out of nostalgia for and love of early video games.
No matter the image size or quality of the pic you start with, you can quickly create your own pixel art by pixelating your photo.
How to create a pixelated image with Photoshop.
Follow these steps to pixelate an entire photo in an image editor:
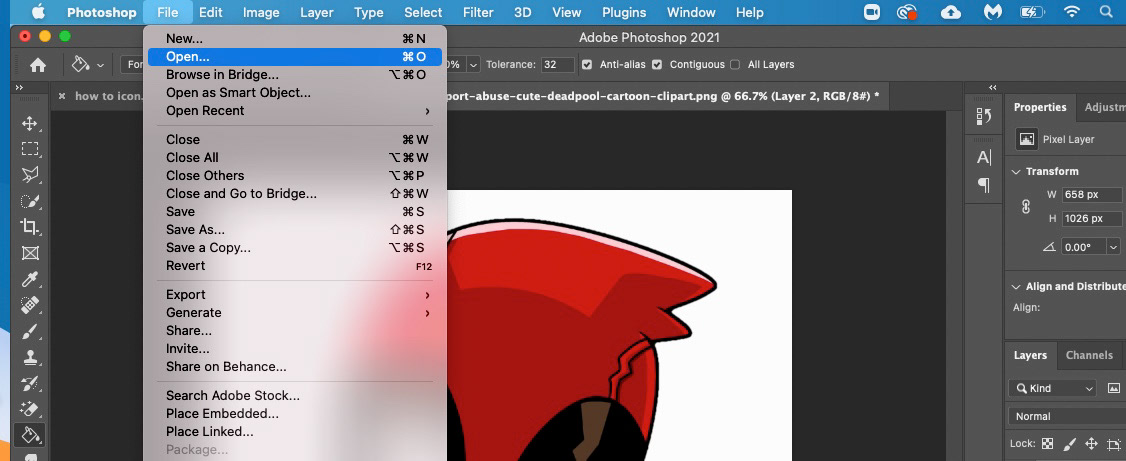
1. Open your photo.
Select the file you want to pixelate in Photoshop.
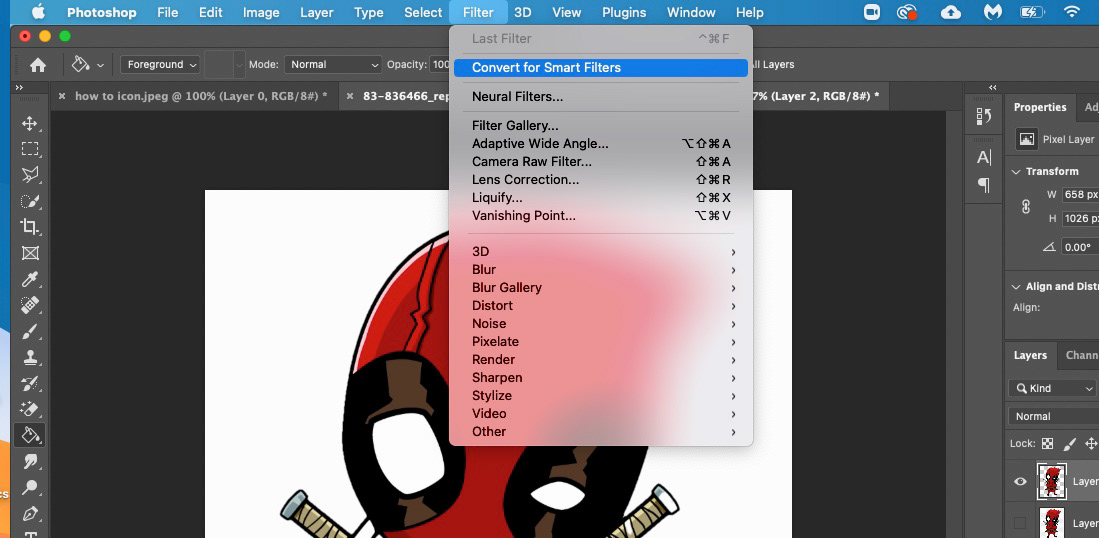
2. Turn your photo into a smart object.
Create a smart filter. Select Filter from the top menu and click Convert for Smart Filters. You can add, remove, adjust, or hide smart filters, so any edits you make are non-destructive. (This way you can easily remove changes to the original photo and start over.)
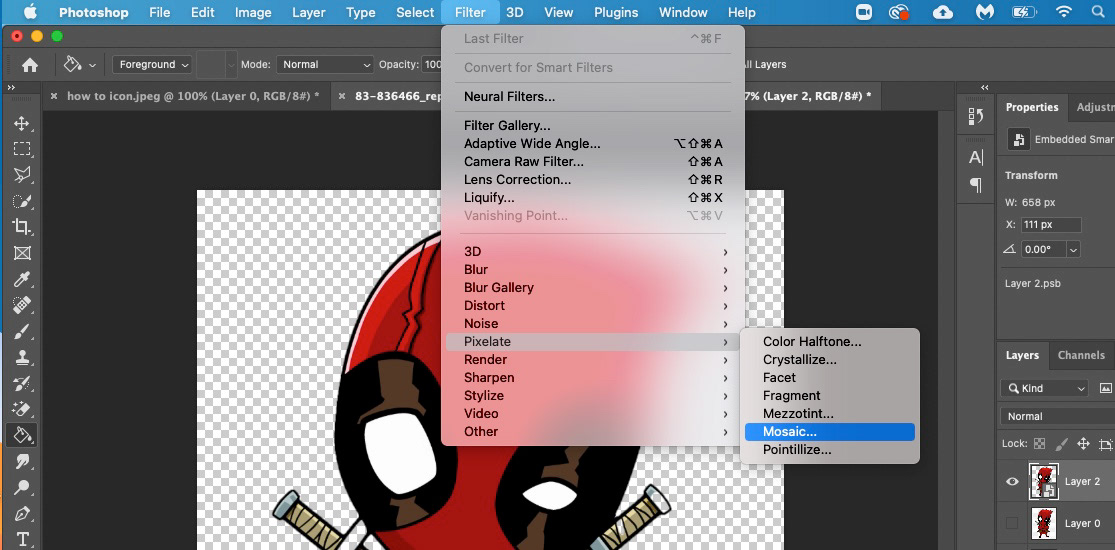
3. Pixelate the image.
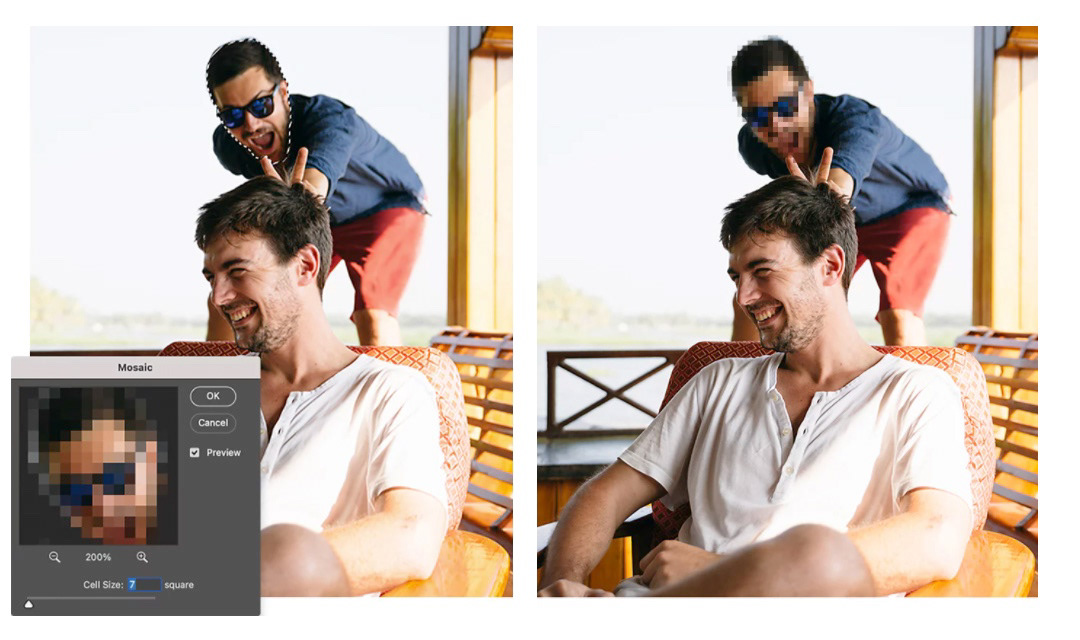
In the top menu, select Filter › Pixelate › Mosaic. The Mosaic filter redraws pixels as blocks of color. You can also explore other pixelate filters like Pointillize, which turns the layer into randomly placed dots like a pointillist painting.
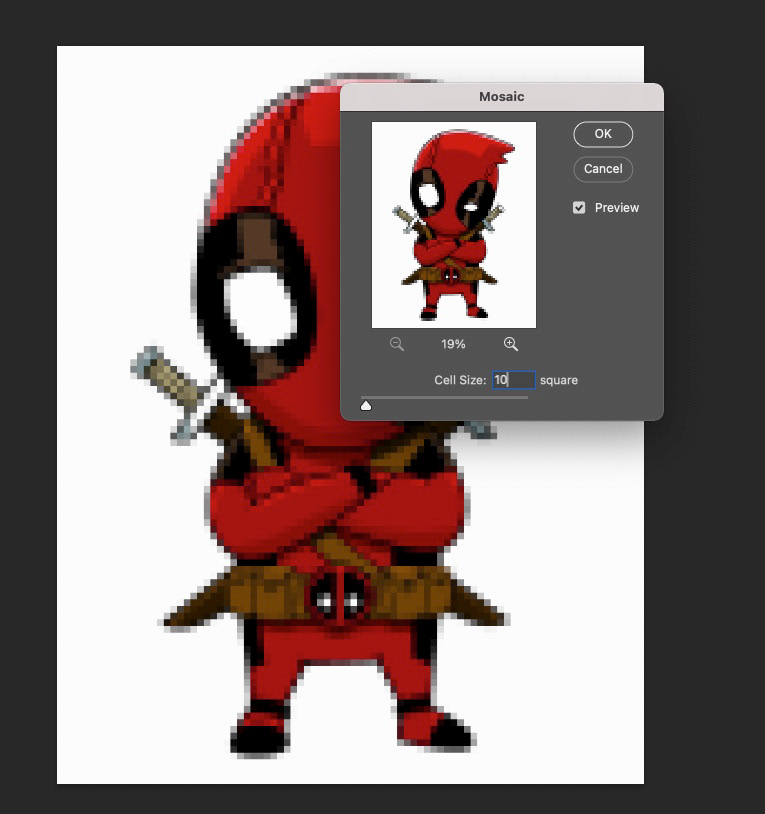
4. Select the level of pixelation.
In the preview window, move the slider to the right to increase the apparent pixel size or the left to decrease it. You can zoom in and out of the thumbnail image in the preview window to see how the pixelation will look.
In the preview window, move the slider to the right to increase the apparent pixel size or the left to decrease it. You can zoom in and out of the thumbnail image in the preview window to see how the pixelation will look.
How to add pixelation effects to selected areas.
You may want to use pixelation to obscure someone’s face, a brand logo, an address, or other sensitive information in a photo. To pixelate just a portion of your image, create a mask and apply the filter selectively:
1. Work in your Smart Filter.
After you’ve followed steps 1–3 above, click OK. Then select the Smart Filters rectangle in the Layers panel.
2. Select your tool.
Choose the Eraser tool to remove small sections of pixelation. Or opt for the Marquee or Lasso tools to remove larger sections of pixelation.
3. Remove the pixelation.
Use the Eraser on the area you’d like to keep free from the effect. Or select larger areas with the Marquee or Lasso tools, and then hit Delete to remove the effect from that area.
Another way to selectively pixelate is to use the Select Subject tool. Just follow these steps:
1. Select your subject.
From the top menu, click Select › Subject.
2. Invert the selection.
Go back to the top menu and click Select › Inverse to apply it to the background.
3. Pixelate the area.
In the top menu, select Filter › Pixelate › Mosaic.